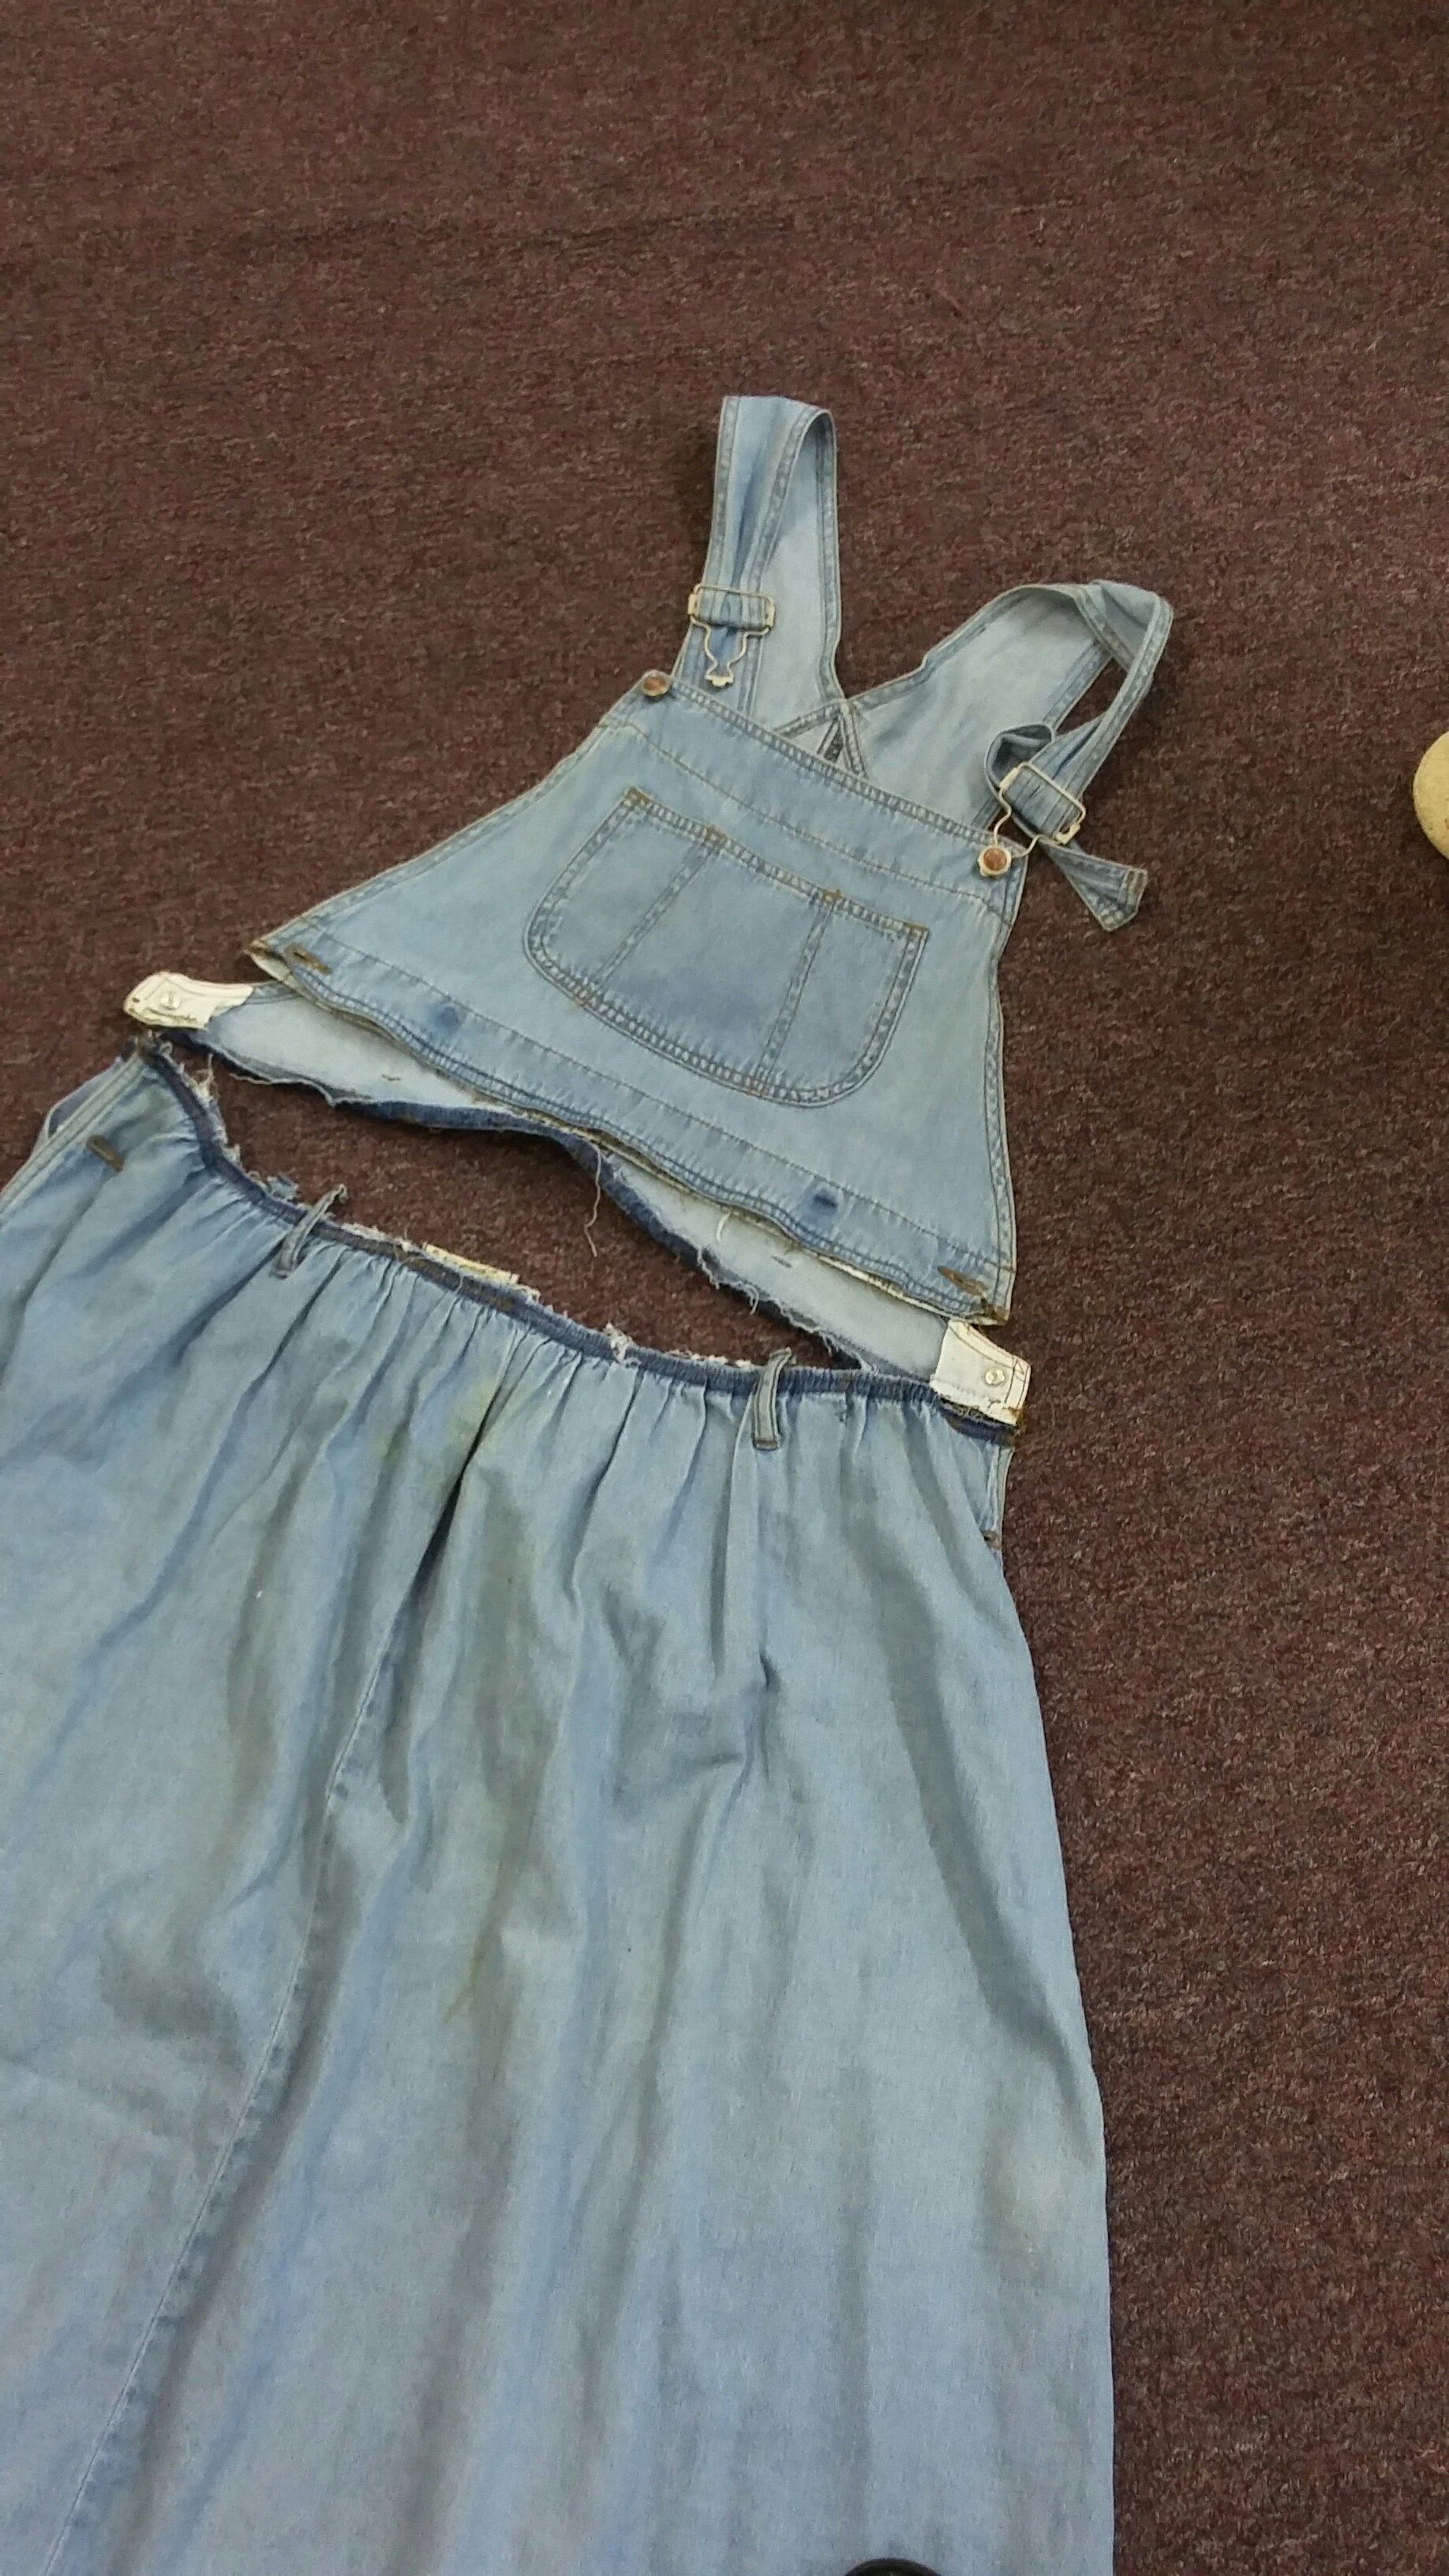
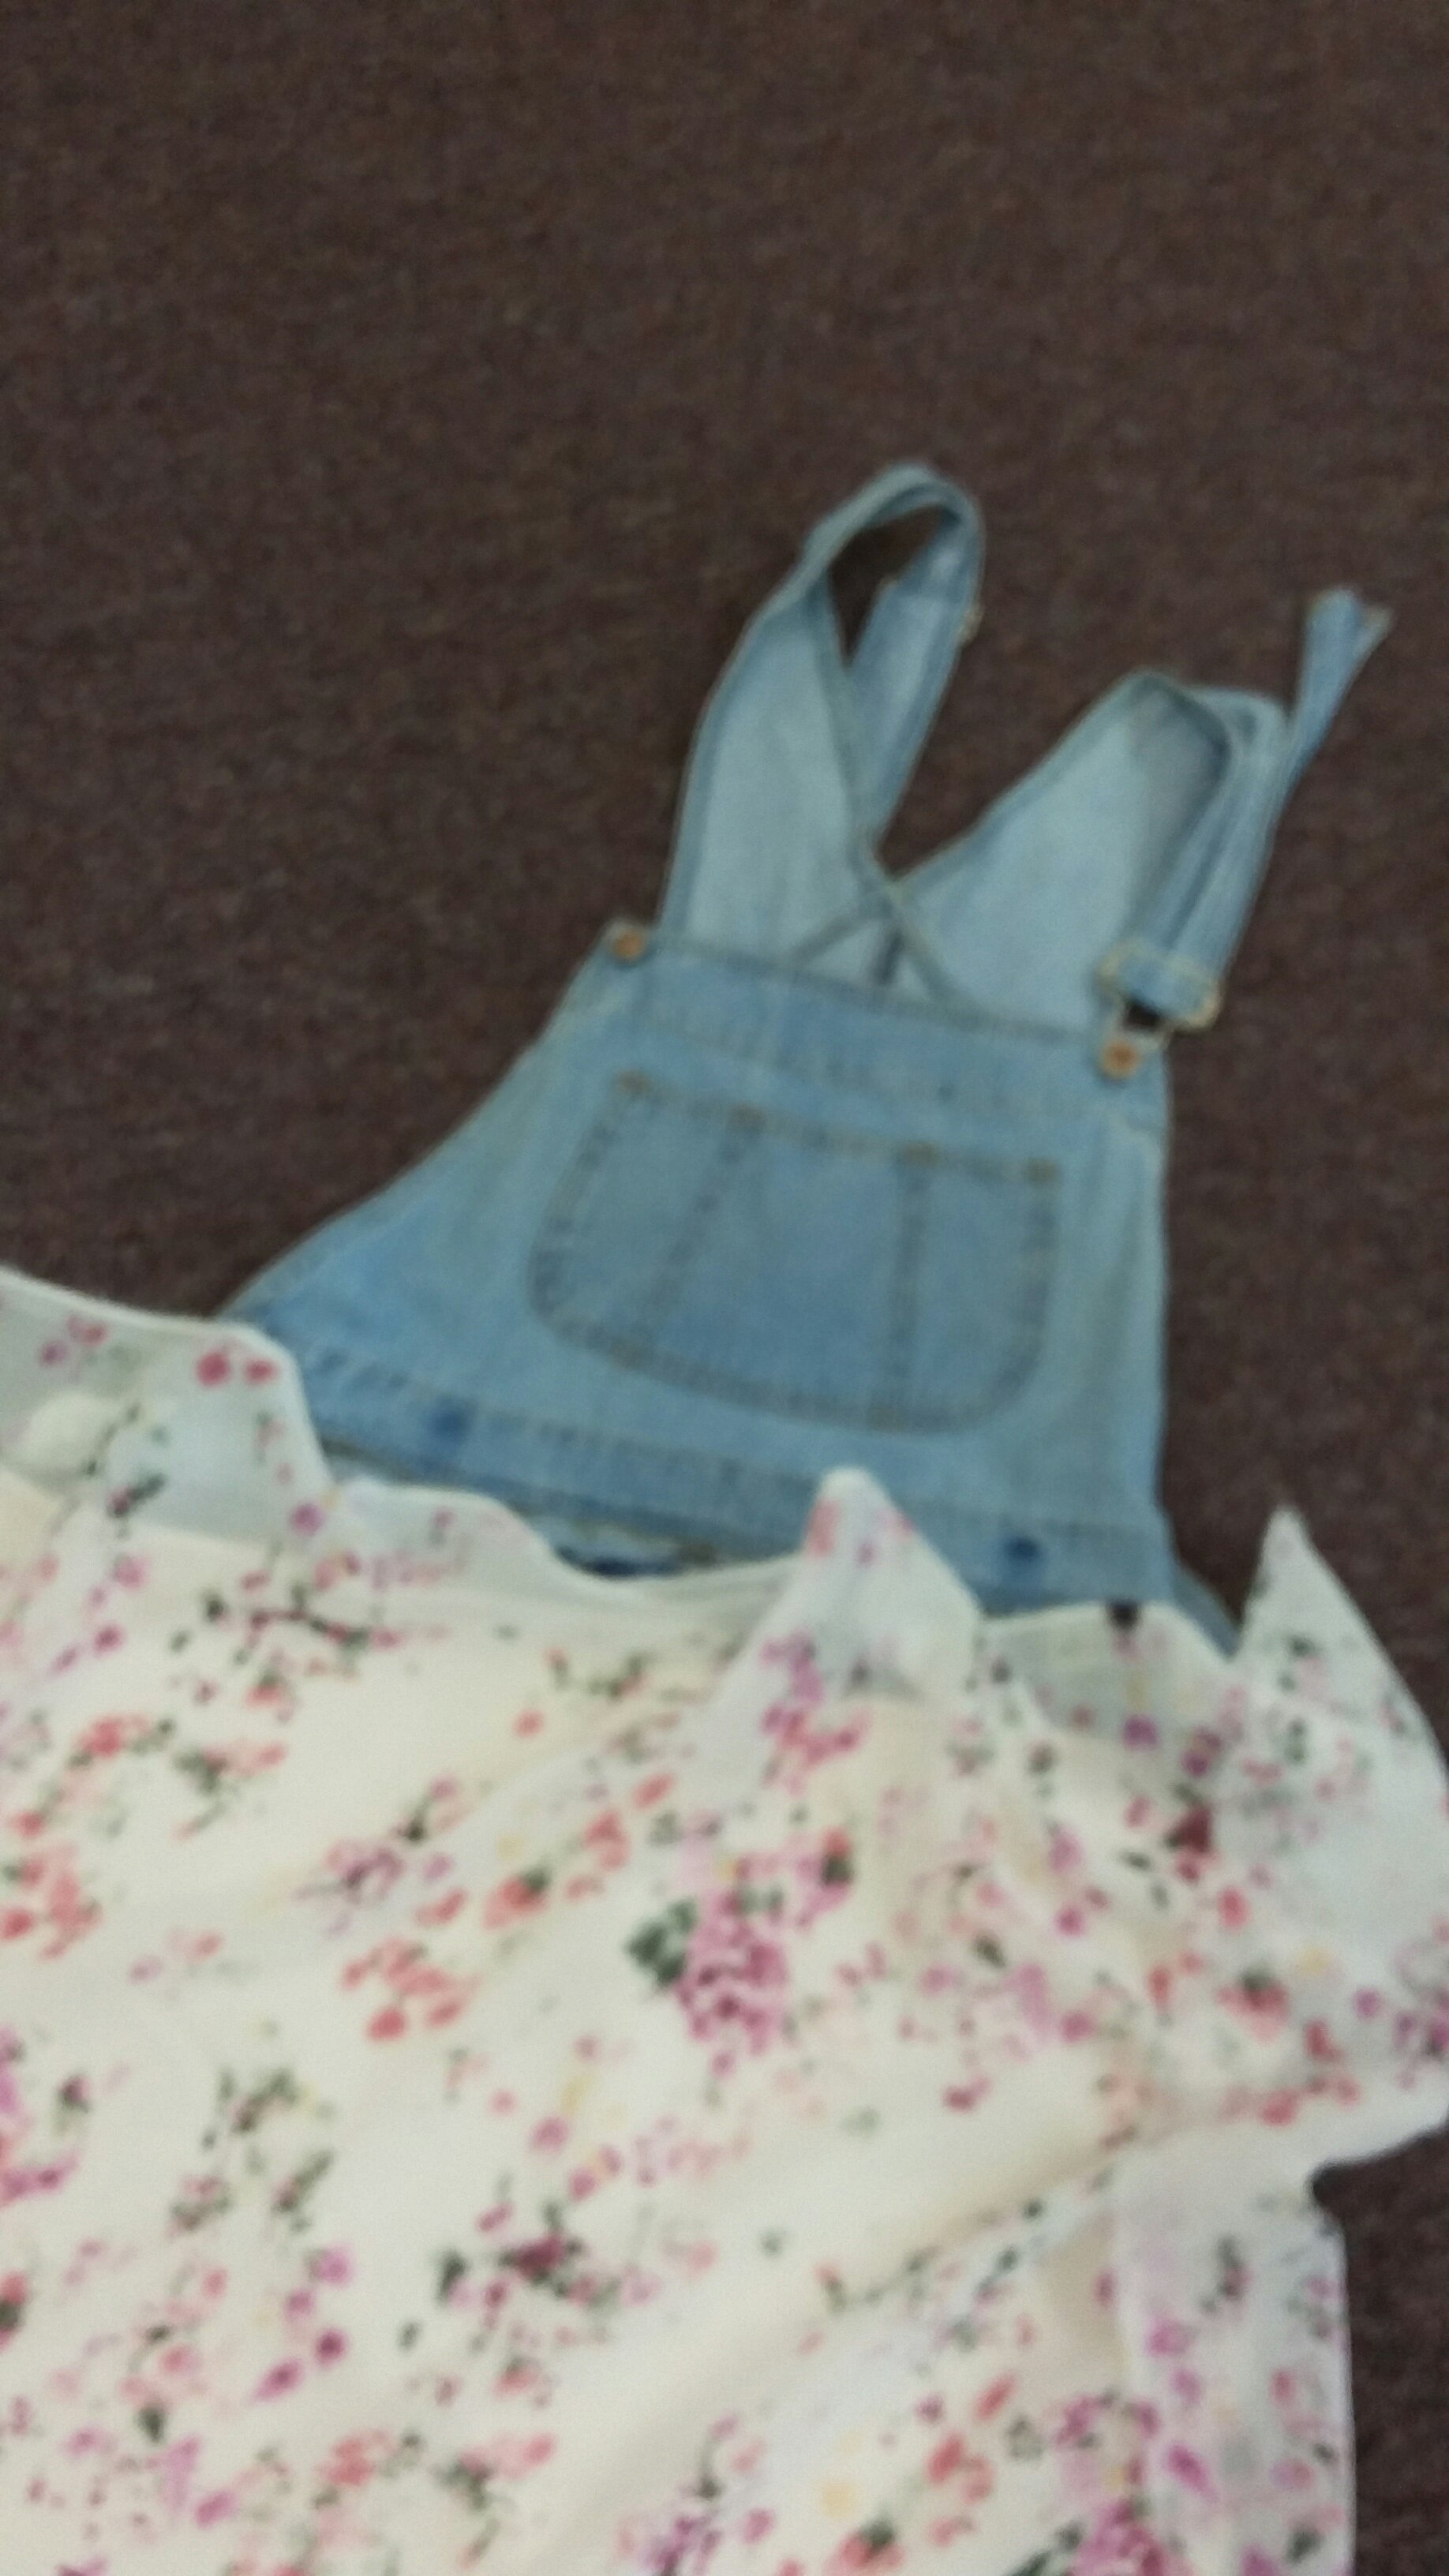
The beginning of my current sewing project: I started with a chambray jumper and took the skirt off the bib.
Now I am completing the jersey underskirt that will give me coverage and comfort without the weight.
After that I will gather my lovely floral and attach to my underskirt. I will attach both skirts to the bib for the finished project. I found the idea in pintrest…. (of course) but no tutorial. Hopefully this turns out as cute as the one is pinned!
Another day another post. I am sorry to say that my parents must return home today. It’s been fun and now it’s time to say goodbye. 😦 The next visit will be on us and we will have to make the trip over to see the clan.
Well, I shall not be bored in the mean time! I have a line up of projects that should keep me hopping for quite a while. What’s in the works you ask? Let me tell you.
Finish staining and installing office shelves
Install large cork board
Mix glorious paint leftovers into something lovely
Paint office
Paint girl 1 room
Paint my room
Paint living room
Paint hallway
Stain stairs
Make wall words for my room- not sure which quote/scripture I’d like yet…
Make wall words for Living room- “As for me and my house” maybe?
Paint large mirror frame and install near entry
Make slip cover for “new” couch
Hmm… I think I’ll start with a cup of coffee and then decide which one I want to tackle first!
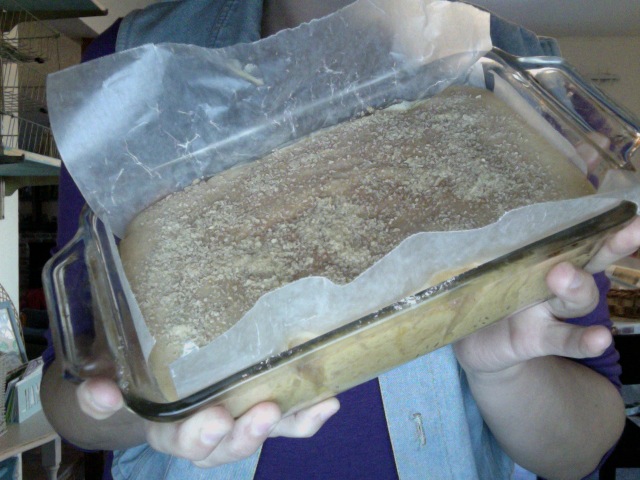
Looks yummy! Smells good too- but don’t eat the soap!
Today I made soap. I have only made soap once or twice before and used a very simple recipe. I had a more steps involved n the recipe I used today and got a little flustered when I reached “trace” much quicker than I anticipated but all went well and now I have a lovely oatmeal cookie soap waiting to be unmolded . Everyone keeps trying to eat it here at the house because I used a muffin tin and a bread pan for a mold. It really does look and smell like baked goods! Hopefully I can get some molds made up for future batches…. pretty sure taking a bite out of freshly made soap is not a good idea
I am hunting for the perfect shampoo bar recipe. I made one before that was heavy on the coconut oil and found that to be too drying for my hair. I am hoping to add a bit more moisture to my shampoo bar as well as all the good add ins that promote hair growth.
I have tried sulfate free shampoos and ‘no poo’ as well as CO washing with mixed results. I always end up going back to the homemade soaps as they clean well without stripping the hair and they have zero sulfates. Also, you don’t need to take out a loan to whip up a batch of soap.
The oatmeal bar that I made today will work fine for shampoo for my family but I want to dose up a batch with rosemary, lavender, tea tree and all the other hair goodies. We have varied needs as far as hair care goes so the souped up shampoo bar will most likely be just for me.
Through the course of time I noticed my hair was getting thinner and thinner and the texture became more brittle. I was careful with it but still it broke off a lot. I started my “hair health” by taking out sulfates. That helped a lot but products still left my scalp itchy and sore and my hair was not happy. I began to treat my scalp with essential oils. mainly, lavender, tea tree and cedar wood. That helped too and I notice a difference when I treat it regularly. Now, I oil my ends before and after every washing and I have started doing an egg mask once a week. I brush my hair out thoroughly at night and wither braid it or put it in a bun. I rarely (like maybe 4-5 times a year) use heat other than a hair dryer. Each step I take toward healthier hair has given my hair new life. Genetics has given me thin hair and it will probably remain that way but with care I have been able to keep it healthy.
I can’t wait to get a new batch of soap going… next up: shampoo bars, goat milk and castile 🙂
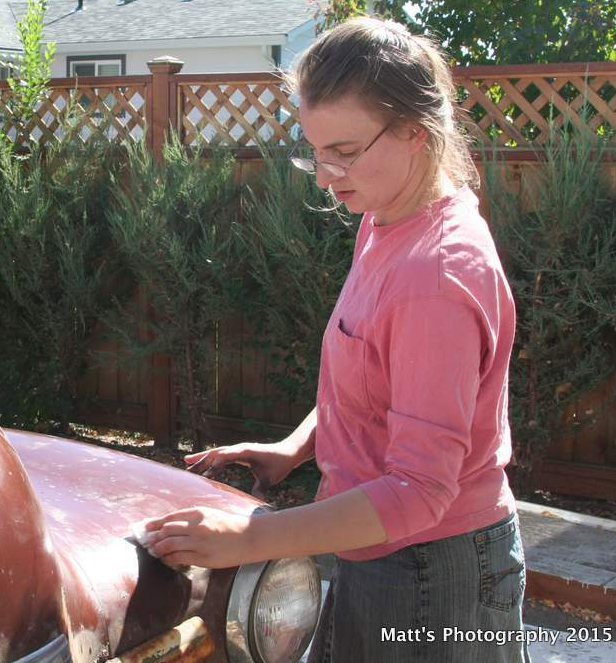
My 1950 Chevy pickup getting a little love. This DIY has been handed down to more capable hands…my son’s! I did not inherit the mechanical or woodworking skills that my siblings did
Ok, so I am by nature a crafty sort of gal. I was confused when I would throw together some random art project and people would stare and ask “How did you do that?” To me it was simple. You just get creative and stuff happens. It took me a while to see that I actually had a gift.
As it happens this sort of thing is not really in demand for too many basic jobs. So I have a unique skill set that I have not yet marketed. I may never market it. That’s not really the point anyway.
I have found that over the years being creative has made my life more enjoyable and exciting. I have been able to bless others along the way. I have been able to stretch my small means further than anyone thought they could go.
It’s funny when I google money saving tips and I see things that I have been able to make for less than half of the cheapest purchase price. I feel good about that. I don’t want to take it for granted.
I am blessed to have had parents who lived a DIY life out of necessity and taught me how to work with my hands. My mother painted and arranged flowers and created an inviting home with very little money. My dad built and welded and was forever knee deep in projects. Both are extremely creative thinkers.
The things I remember most about my growing years were that we were allowed to be kids and to learn by error. We climbed trees and built our own tree forts. We used that dilapidated band saw to make wood projects. We used the wood lathe to create gifts for friends and family. We gathered flowers and branches from gardens, woods, fields to make elaborate arrangements for gatherings and holidays. We planted, we grew, we were given the right of way.
My amazing sister blew everyone away when she built- from the ground up- a tiny house complete with wiring and insulation. Mind you, this was WAY before tiny houses were cool. She was sixteen. I did not get that much talent *sigh*.
If DIY isn’t your thing there are so many tutorials online to guide you through. I encourage you to try it. You might find yourself with a better product that cost you less to make than it does to buy. Word of caution *it can be addictive*.
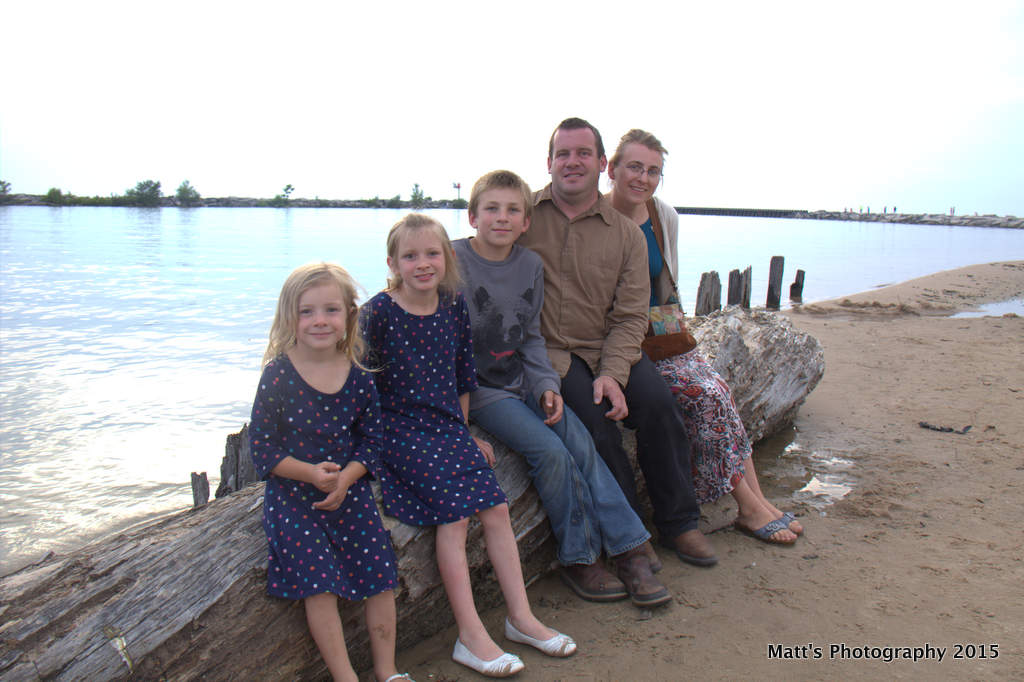
These are my lovelies. Cute right? I know, I am blessed! I love them all but sometimes a mama need her own space! And spa treatments…
Here is my Monday cure for getting myself prepped and feeling good for the week:
*Hair mask*
1 Tbs conditioner of your choice
1 Tbs oil (olive for thick/dry hair, coconut for finer hair)
1 egg
mix all ingredients and apply to clean WET hair- leave for 30+ minutes and wash as usual
*Face mask*
In a blender mix 2 Tbs oatmeal, 1 Tbs honey and 1Tbs warm water. You can add extras like bentonite clay or charcoal if you have any of those fancy things. If not, no biggie. Blend until it is soupy and apply to clean dry face. Leave to dry (it’s a thin mix, it won’t take long) Wash face as usual and moisturize!
Also, stop and get your favorite drink while running your Monday errands. That is a treatment in itself!
The writing prompt today was homesteading. I often have too much on my mind to bother changing course but this one I can make an exception for.
When we bought our farm the whole drive for me was to provide 50% of our food. I wanted healthy veggies from the garden and hormone free meat. Chickens are terrific source for both eggs and protein. Not to mention, they are quite fun little critters and no farm could be complete without a crowing rooster in the background.
The garden did it’s duty this year and we have been getting our fiber in. If I had more skills and time I could preserve every last bit of it but I’ve only been at this farming business less than a year. I am in awe of all the off gridders who make it work day in and day out. I know they still purchase goods but to provide so much of your own food source is wonderful.
I get a thrill with every zuchinni I pick and every egg I gather. Right now, we have enough eggs to begin selling off the excess. I may can up a batch of pickled eggs with some as well. (they are awesome canned with homegrown jalepenos!) I have jams and soups lining my shelves as well as pre-made lunches for the kids.
My dirty little secret is frozen burritos. It’s how I get out the door with the kids in decent time. In an effort to cut down on burrito consumption for school lunches I canned up a “meal in a jar”. Now, my kids can grab a mason jar filled with veggies, beans and meat for a hearty school lunch. *bonus* If they don’t eat it, it won’t spoil in the car four days later. Not that we have ever had that happen before….
I actually love the burritos and I will still buy them. They just don’t love us back. We will see if a better meal makes a better school year.
Yesterday was a lip balm kinda day. I gathered ingredients as well as a couple of friends and we cranked out a super easy (and huge) batch of lip balms.
Want to try it?
Of course you do! Well, maybe not everybody loves a good DIY but I sure do and I’m sharing for those of you who might enjoy this project.
Materials:
you can just be a lazy one like me and use old jelly jars and a pot with water (the recycled jelly jars can be tossed afterward)
or you can be all fancy like that and use a double boiler
containers for your lip balm – the recipe makes a full cup so stock up!
1/3 measuring cup
chopsticks (to stir with)
beeswax pellets
coconut oil – make sure it’s the solid one not the liquid
another oil of your choice (sweet almond, olive, grapeseed will work)
essential oils of your choice – geranium is supposed to be amazing for skin. I have used lavender, peppermint and orange (not all in the same batch!)
stovetop and oven mitts!
a freezer
not required but super nice additions…she butter and vitamin E oil capsules
To start with understand that the ratio will always be 1 part beeswax to 2 parts other oils. That being said, one of your oils should always be a solid coconut oil. The other can be subbed with what you have on hand. ( avoid peanut, sesame or sunflower oils… they can get funny smells in your product)
Ok! Here we go!
Prep your containers by removing lids and placing on a easy to transport tray that will fit in your fridge or freezer. Measure 1/3 cup beeswax and add to your double boiler or glass jar. put about 1″ inch of water in your pot or double boiler. Heat until beeswax is liquid using your chopstick to stir out any solid pieces. You can add a small tsp scoop of shea butter at this time if you have it. Continue by adding the remaining oils and stirring over a low heat to fully mix, melt and incorporate. Lastly, add your chosen essential oils and a vitamin E capsule opened up and squirted in if you like. 🙂
Almost there…
CAREFULLY…VERY carefully…pour your melted oils/wax into your readied containers. Use oven mitts with jars!!! Place in fridge or freezer to set. It will take about 15 min in freezer maybe a bit longer in fridge. Remove and put lids on.
Label with the ingredient list if you plan to give these as gifts!
Super fun to make and a lovely gift to give – Happy Turkey Day everyone
If you struggle through cold and flu season I highly recommend checking out “fire cider”. A healthy cold remedy without the alcohol based side effects! Word of caution…if you don’t love ACV this remedy may not be a fave. Check it out!


 The writing prompt today was homesteading. I often have too much on my mind to bother changing course but this one I can make an exception for.
 Yesterday was a lip balm kinda day. I gathered ingredients as well as a couple of friends and we cranked out a super easy (and huge) batch of lip balms.