DIY, Farm, Frugal, Getting Girly, Home, Organize

My Pantry

Ok, confession time…. I actually posted this by complete accident.  I meant to just get the pictures and then go back and write the post but obviously I reversed the process. So here is the *actual* article.

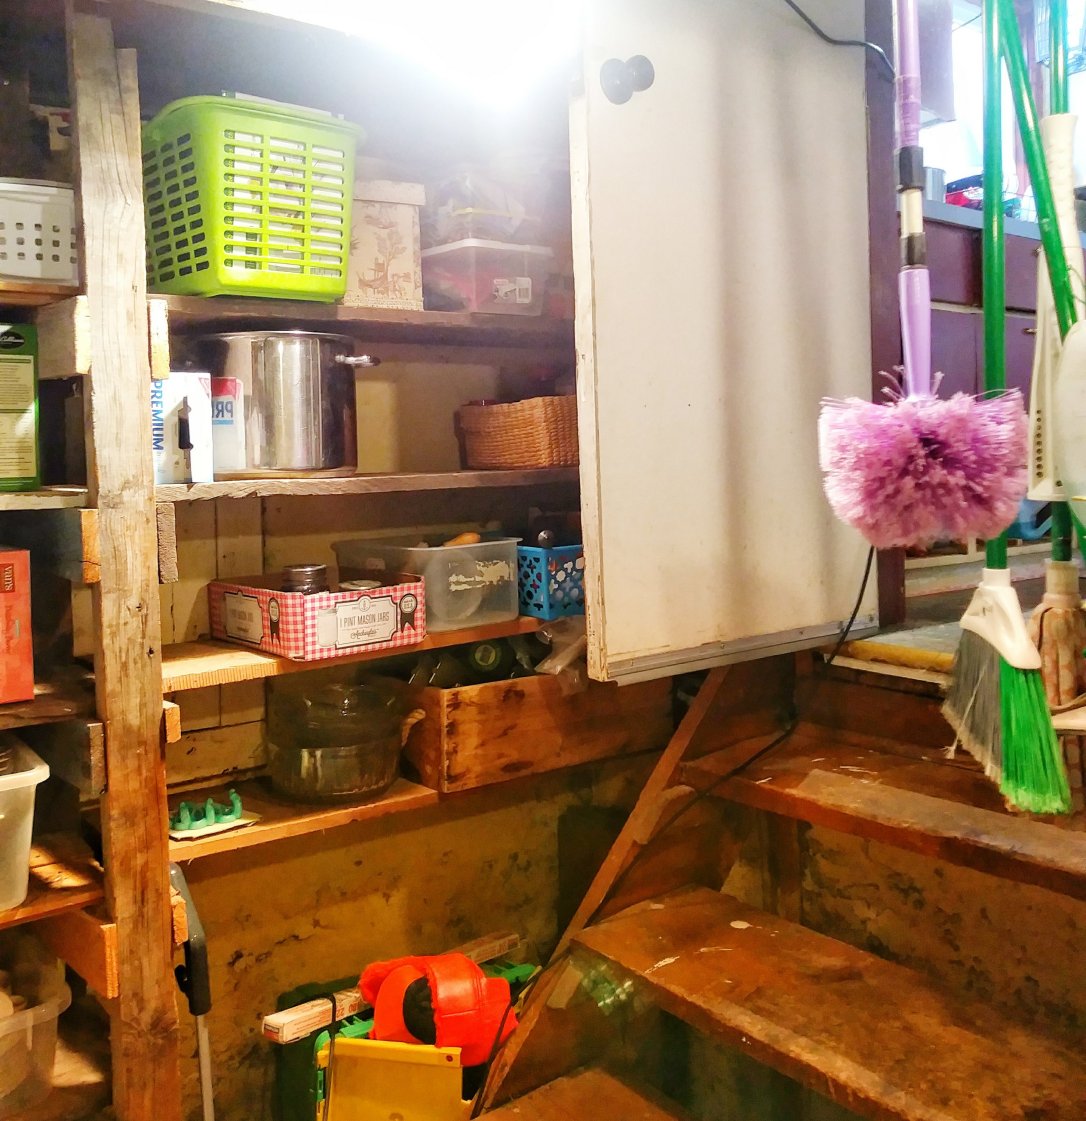
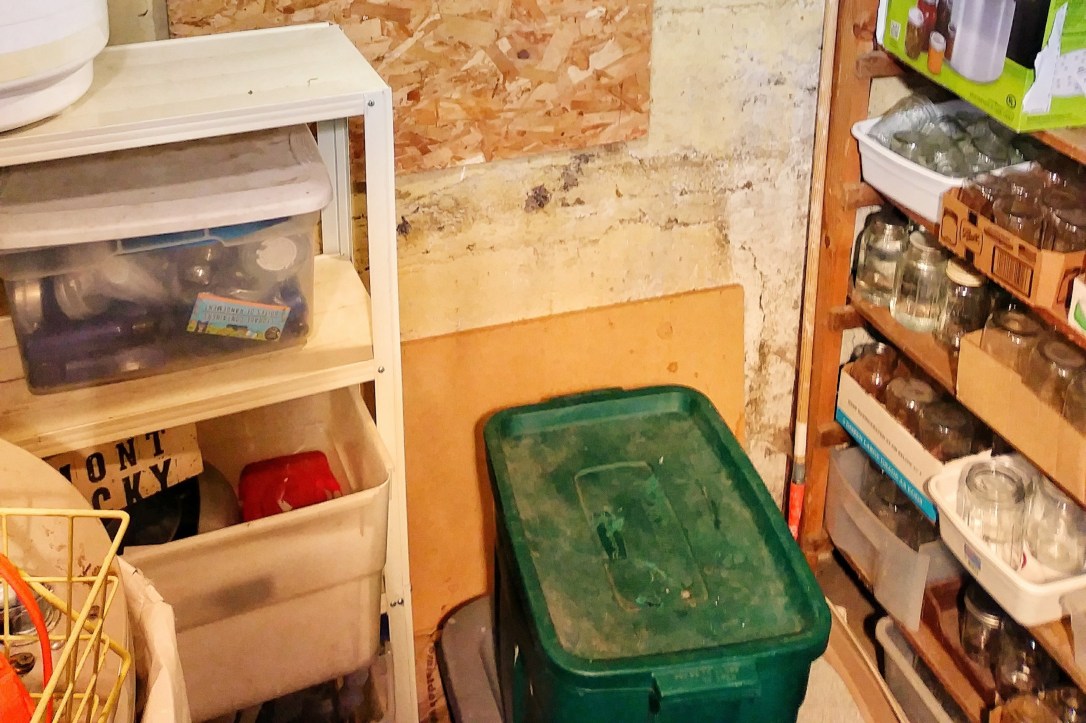
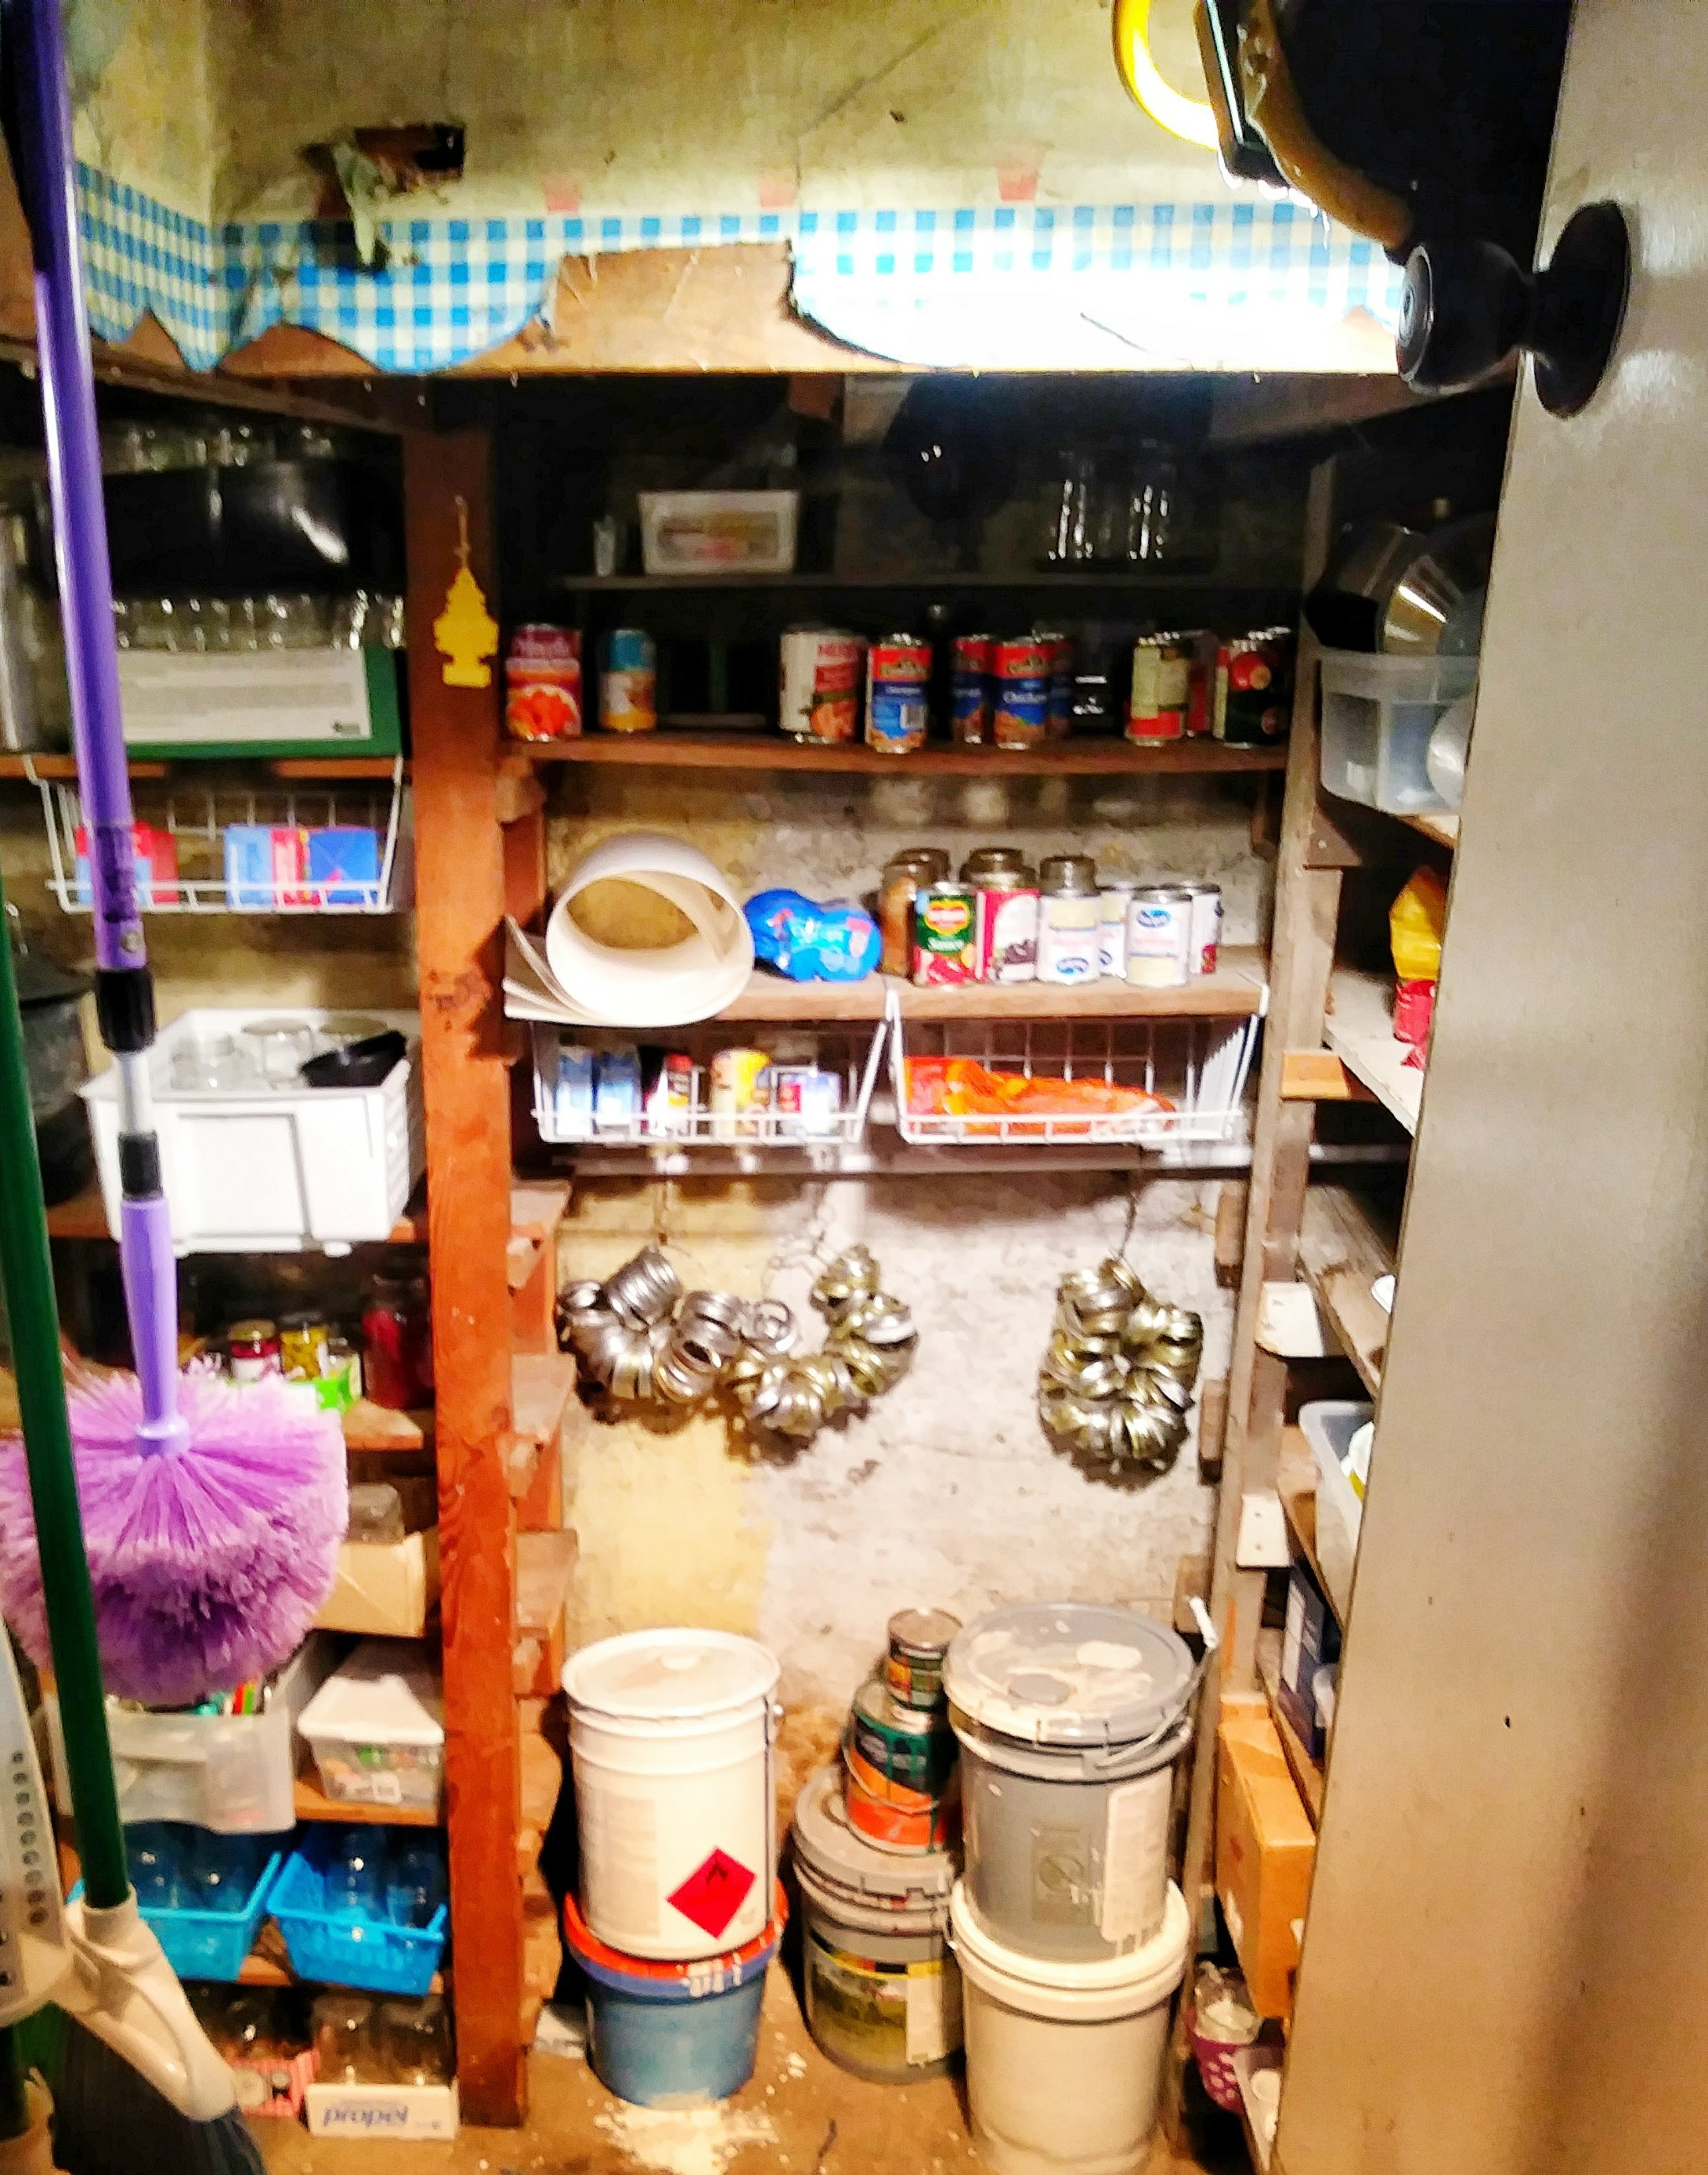
Now, this room is shabby at best.  It’s basically shelves in a half sunken room off of my kitchen.  Nothing special.  Concrete, unfinished boards and canning supplies.  But I took a shine to this ratty little corner of my home.  It became a pleasure to see my canning jars lovingly lined up on the shelves.  Some bursting with past produce and some awaiting their turn to be filled up with home canned goodness.  Not only does it hold all my kitchen essentials it can serve as a shelter should we need it.  (We don’t get hurricanes or tornadoes here but you never know)

And so because this little room is near and dear to me I have a plan to give it a make over.  Of course. The first step was sealing all those pesky cracks because old saw dust insulation kept trickling down on me…. not fun…especially when there are spiders and one might accidentally mistake said sawdust for a spider running down one’s back…maybe.

Anyhow, that was a simple fix.  I DIYed a quick wall paper paste and used large sheets of white card stock to paste over the cracks. Ta-da! Take that tricky saw dust!

The next faze will be to white wash the whole shebang.  I am planning on going totally old school on this little jobby so  I am going to mix up another DIY for white wash.  This will be my first go with that and if it works well I plan on using it for the interior of the smaller outbuildings to brighten things up (so I can see when I go hunting in the large freezer).

Finally, I plan to use those awesome vintage wall papers to dress up those plain white shelves.  It’s going to be all granny blissed out I tell ya’!

I am super excited for this little make over and as soon as my little self is able I want to put some time into it.

Happy DIY!


0111191146c-01708899651.jpeg
What awaits down the pantry steps?
0111191146a-01161292772.jpeg
Shelves full of jars and totes full crafting supplies … these are a few of my favorite things!


0111191146-01146050427.jpeg
Though she be shabby- she be useful!
0111191146d-011277034309.jpeg
Are you in love with these vintage papers?! Guilty!

What do you think?  I will put out a  completed “tour” once it is finished.  Until then, have a wonderful day!

Advertisement
Getting Girly, Health

No Bad Hair Days Disclaimer: *not at all farm related*

Hey everyone! I’ve been obsessing just a bit about hair lately. Healthy hair is a passion of mine and I take it quite seriously. I made a quick video to share my latest discovery. Here’s to only good hair days!

Happy Friday!


Sorry, there was a problem loading the video… technical difficulties! Hopefully it’s now fixed 🙂


Getting Girly, Health

Caring for Thin Hair

caring for

Hey there!  I have been working on hair health for a while and I thought I’d share a bit of what I have learned in my process of trial and error. I find so many things for natural hair or curly hair and thick hair but have been frustrated in the thin hair department.  I hope this helps someone! Also, let me know if you have any hair helps for thin hair and we can share the hair love. Have a GREAT hair day!

Here are the promised links for products mentioned:

STYLING PRODUCTS:

Aloe Vera gel- I use this one

DIY Flax Seed Gel – here is one tutorial


SHAMPOO AND DRYING:

Shea Moisture Shampoo – find them here

Norwex Hair Turban (to speed drying time and reduce heat)- find it here

Perfectly Posh Shampoo- find products here

Homemade Oatmeal and Honey Soap  – recipe found here


TREATMENTS:

DIY Hair Mask – get my Monday egg mask here

Hair Oil (to keep split ends away) – I have used this one

Cedarwood Oil (for regrowth) – I use one from Young Living found here


DIY, Getting Girly

Hair

I have been working on my hair for a while now. I have naturally thin hair and fine  strands.  While it is silky and quick to fix I began to worry that I may not have much to work with in my later years. I cut out sulfates a couple years ago.  I use heat sparingly.  My new tactics include using a WHOOOLE lot more oil. I now oil the last 6-8 inches before and after washing.  I have added a weekly hair mask to my routine.  It must be all those farm grown eggs that did the trick- my hair loves it!


Photo on 2017-10-16 at 09.03
Here is my hair this fall. I wanted to test my hair improvement practices first before posting. I needed results.


Photo on 2018-01-08 at 09.28 #2
Now it is January and I can see a difference. A bit more thickness and lots more shine. Plus, the silkiness….oo-la-la!

The second picture may not be very obvious but I wound it a bit tighter and still had more thickness so I know there was an improvement.

Photo on 2017-10-16 at 09.01 #2
Here is the BEFORE on the hairline. This is the area that I notice the most. I have to be a bit creative at times when styling my hair because it can be pretty bare :/
Photo on 2018-01-08 at 09.42
Same area a couple months later. I’m thinking I’ll keep the egg masks coming!

I have been cheating just a bit.  I am at heart a lazy girl and I totally skipped the prewashing and now I apply my mask to dry, unwashed hair.  I’m going to wash out the mask anyway so I saved myself the trouble.

I have been using an argan oil for my pre and post shower oil but you could easily use olive oil for a less expensive product.

The basic hair mask I use can be found here and it can be altered a million different ways.  Add a few drops of your favorite essential oil or give yourself an extra treat by adding a fancier oil/conditioner to the mix.

Stay beautiful!