
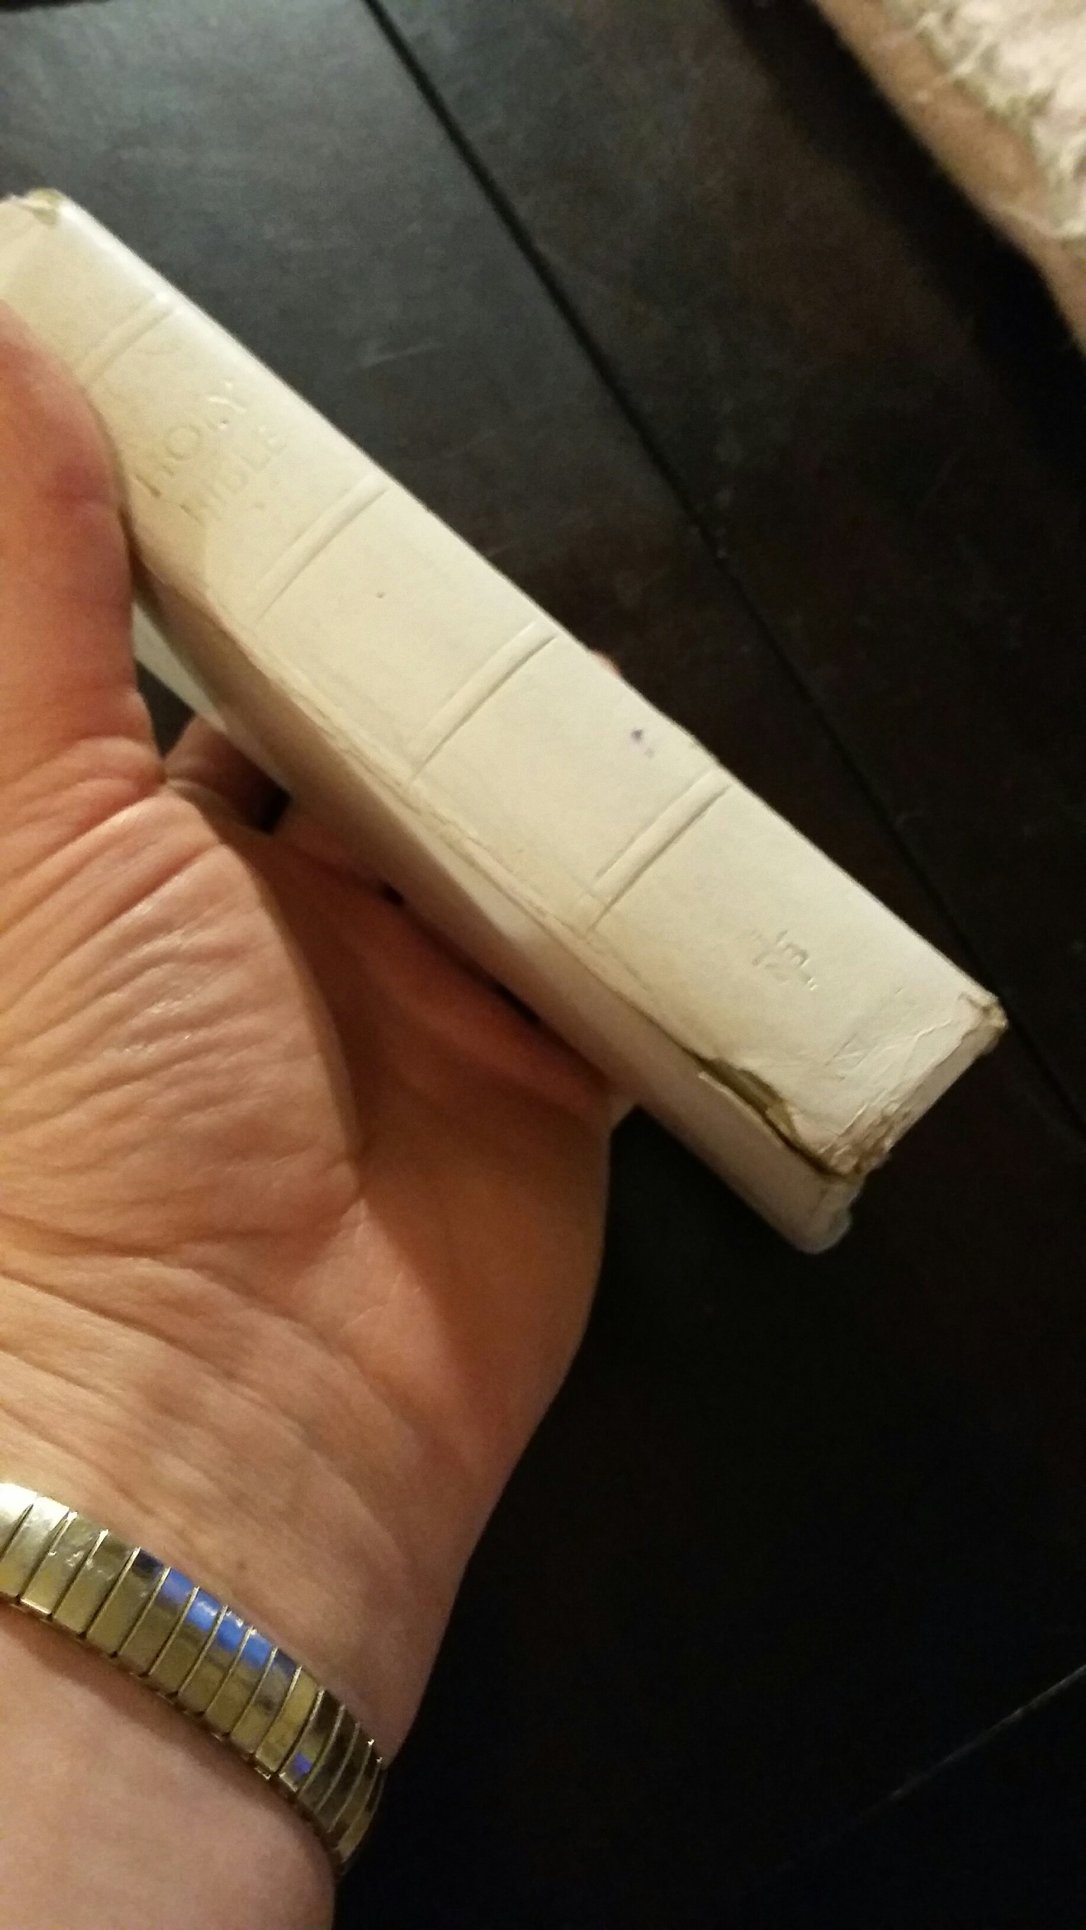
Have a beloved book that could use a sturdier cover? Have no fear, you can easily (and in expensively ) update your book’s look and also up its durability. I am working on a new cover for my bible. I have two with worn soft covers that are needing a little more protection. My larger one I did a while back and my smaller travel size is getting its make over now. Here’s the process…
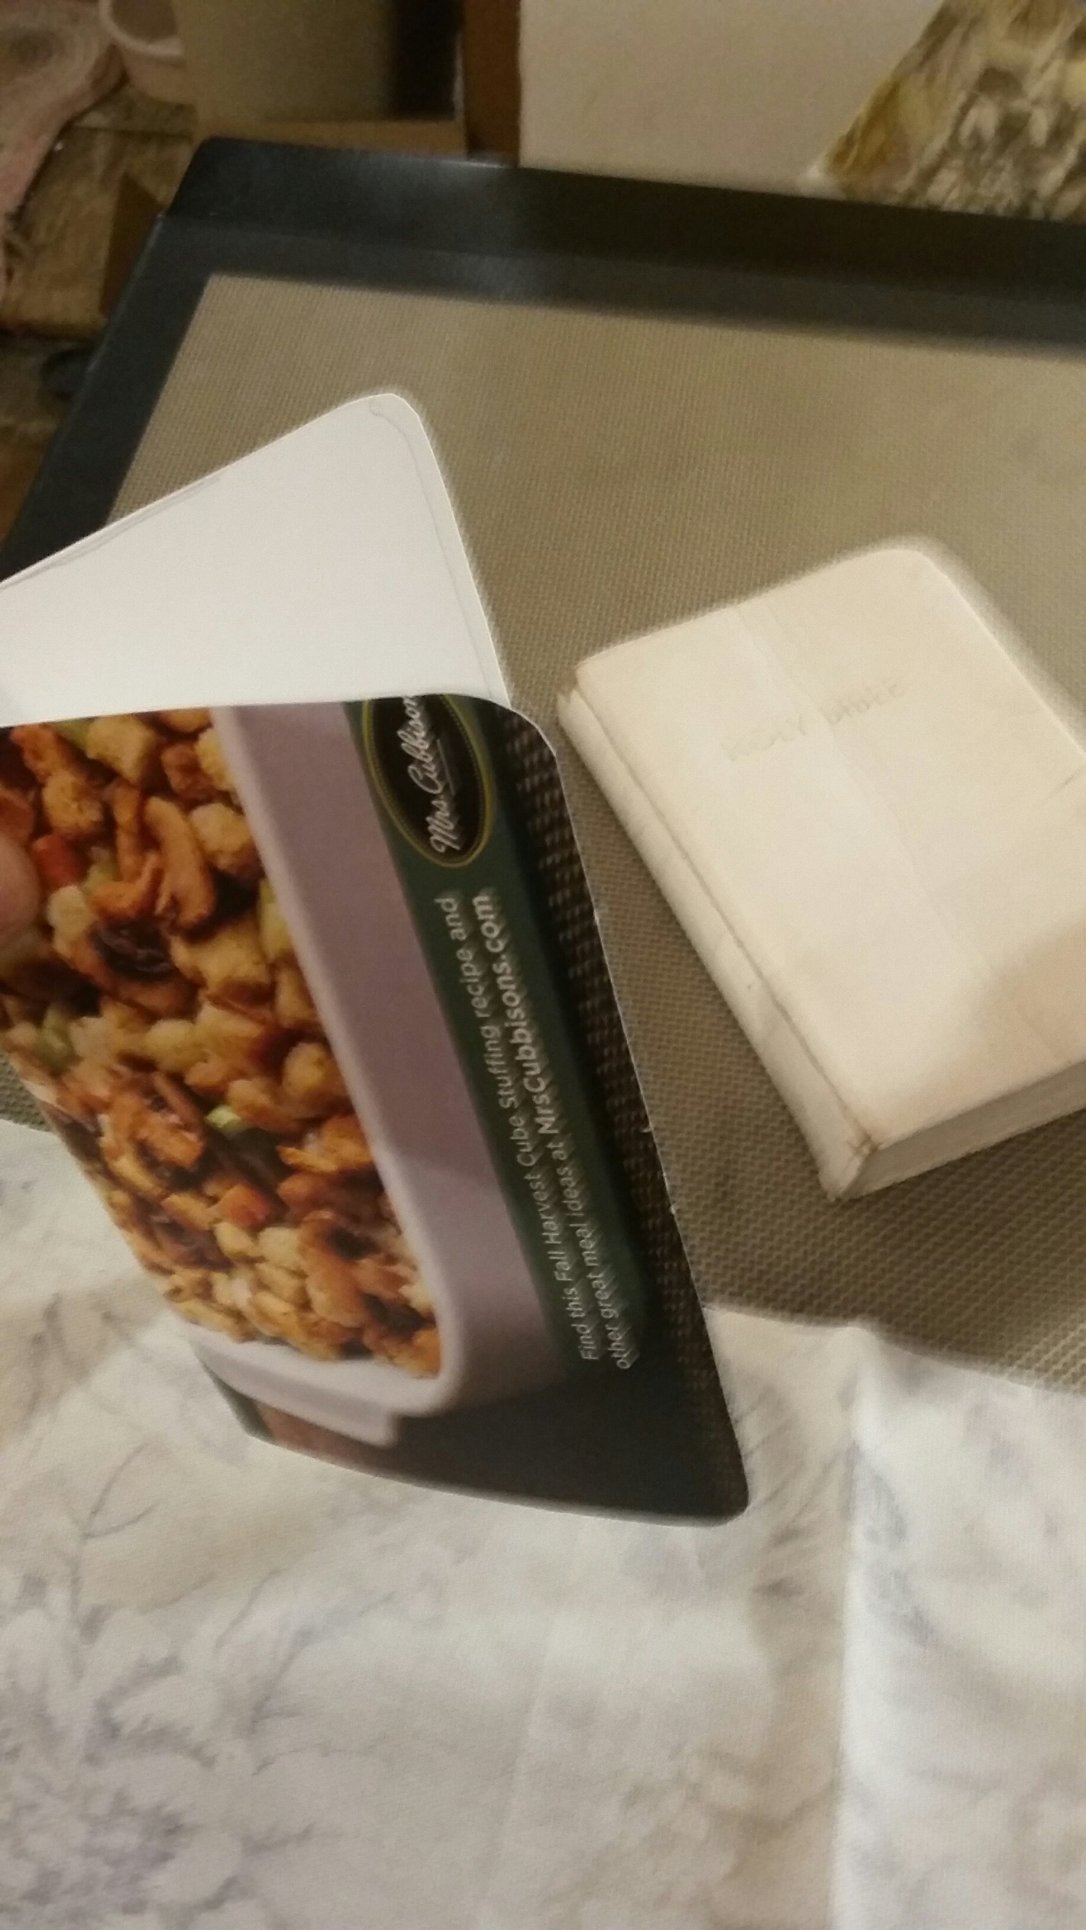
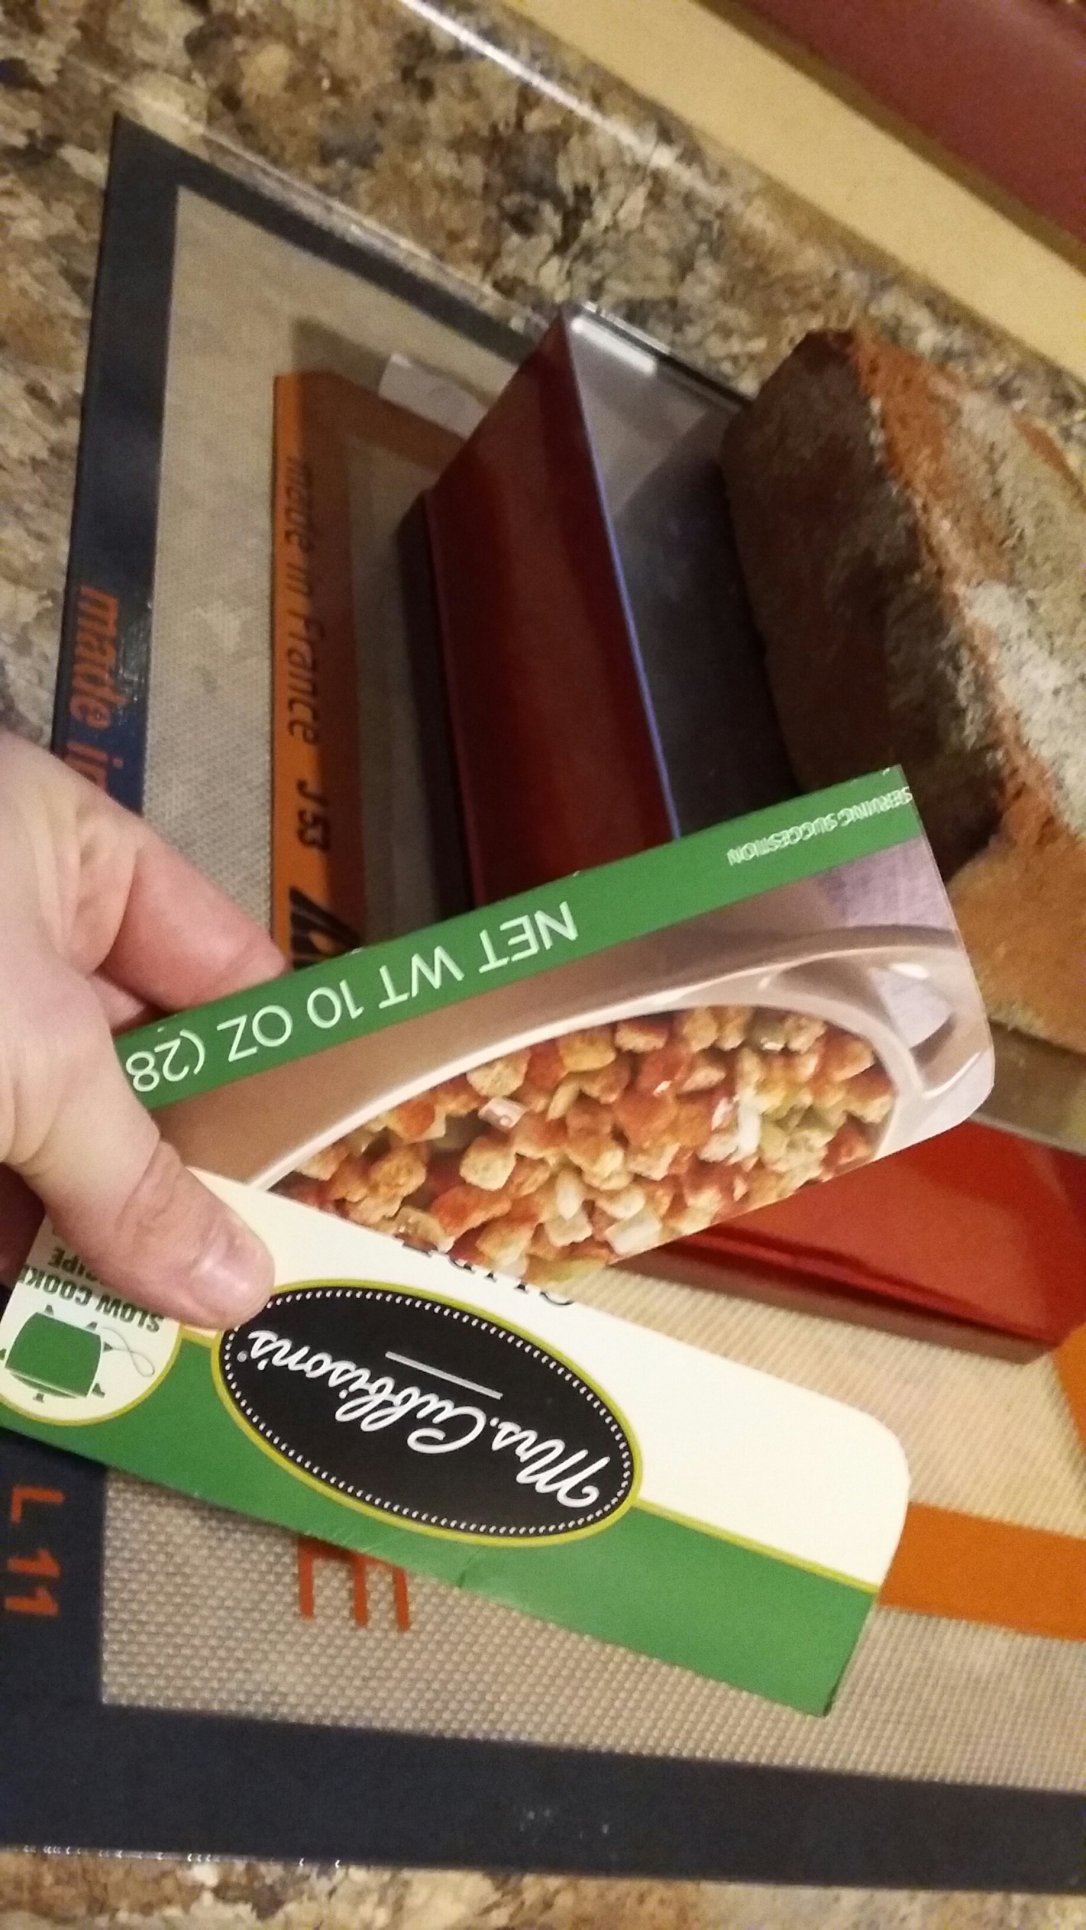
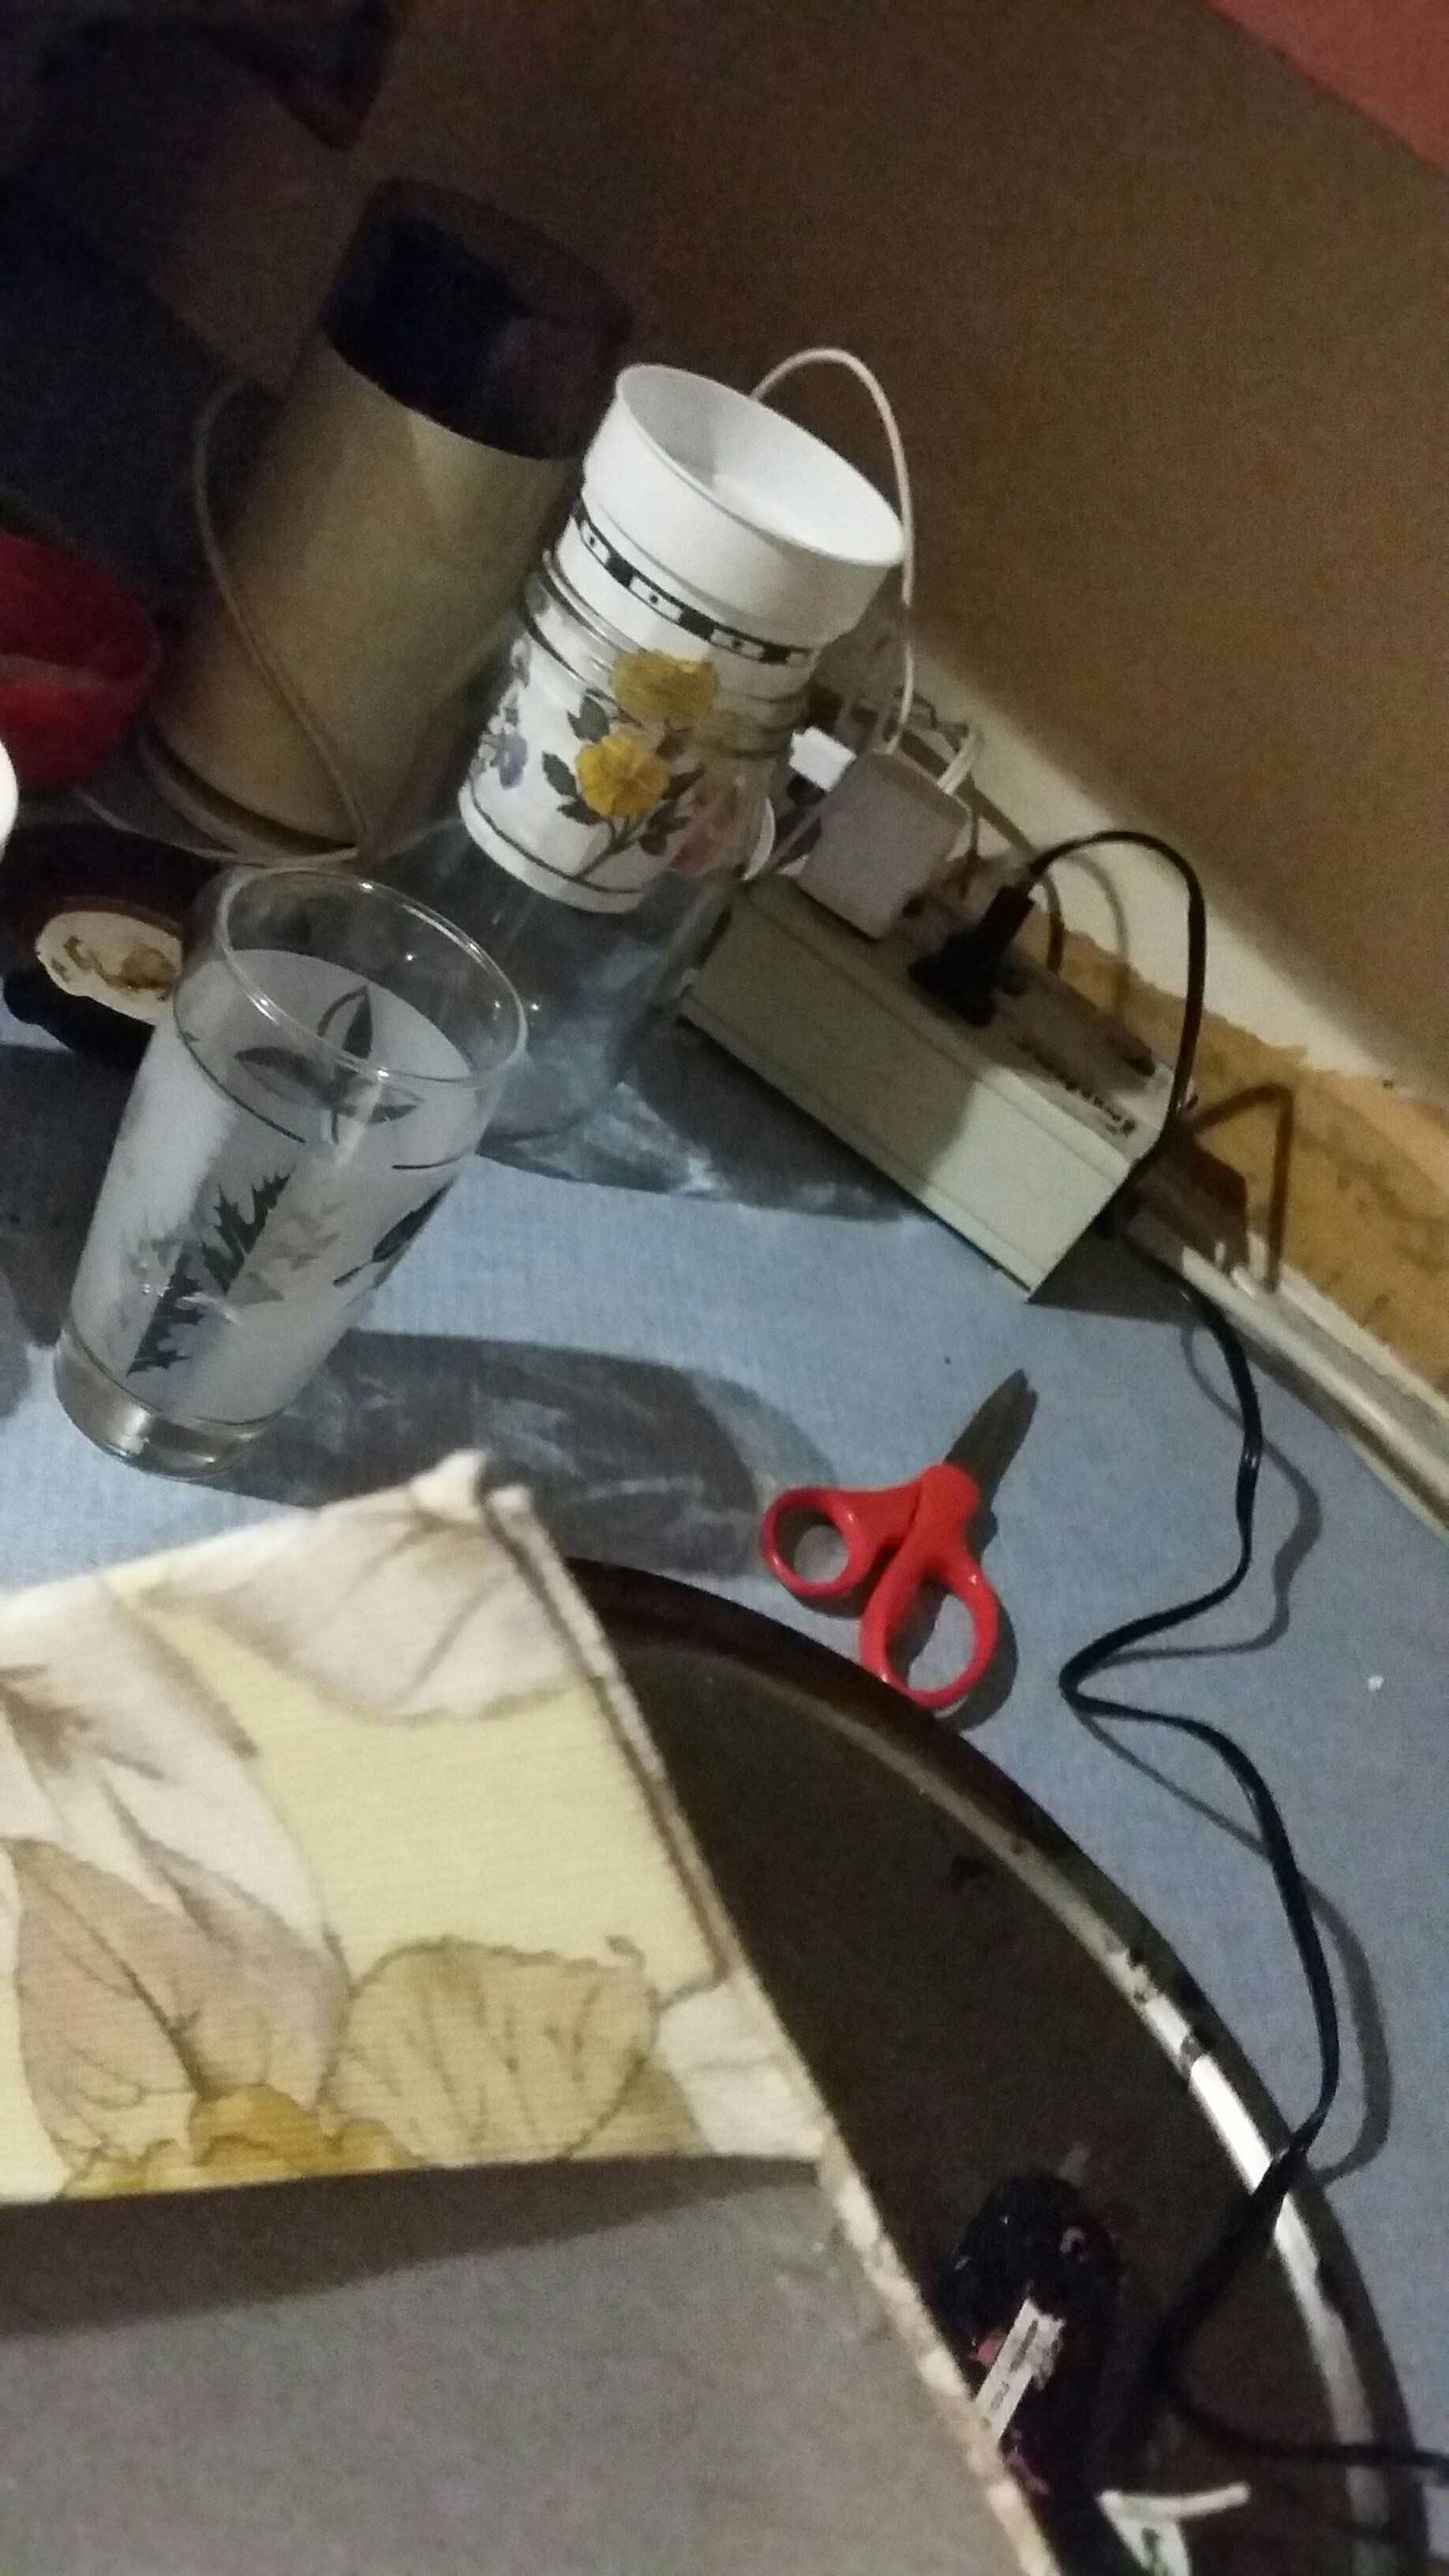
I cut a cardboard cover to match the size. Hello, stuffing box! I purposely used a thinner cardboard to make sure it was flexible. I planned on using a thicker fabric and small books can be tricky to work into their jackets when completed.
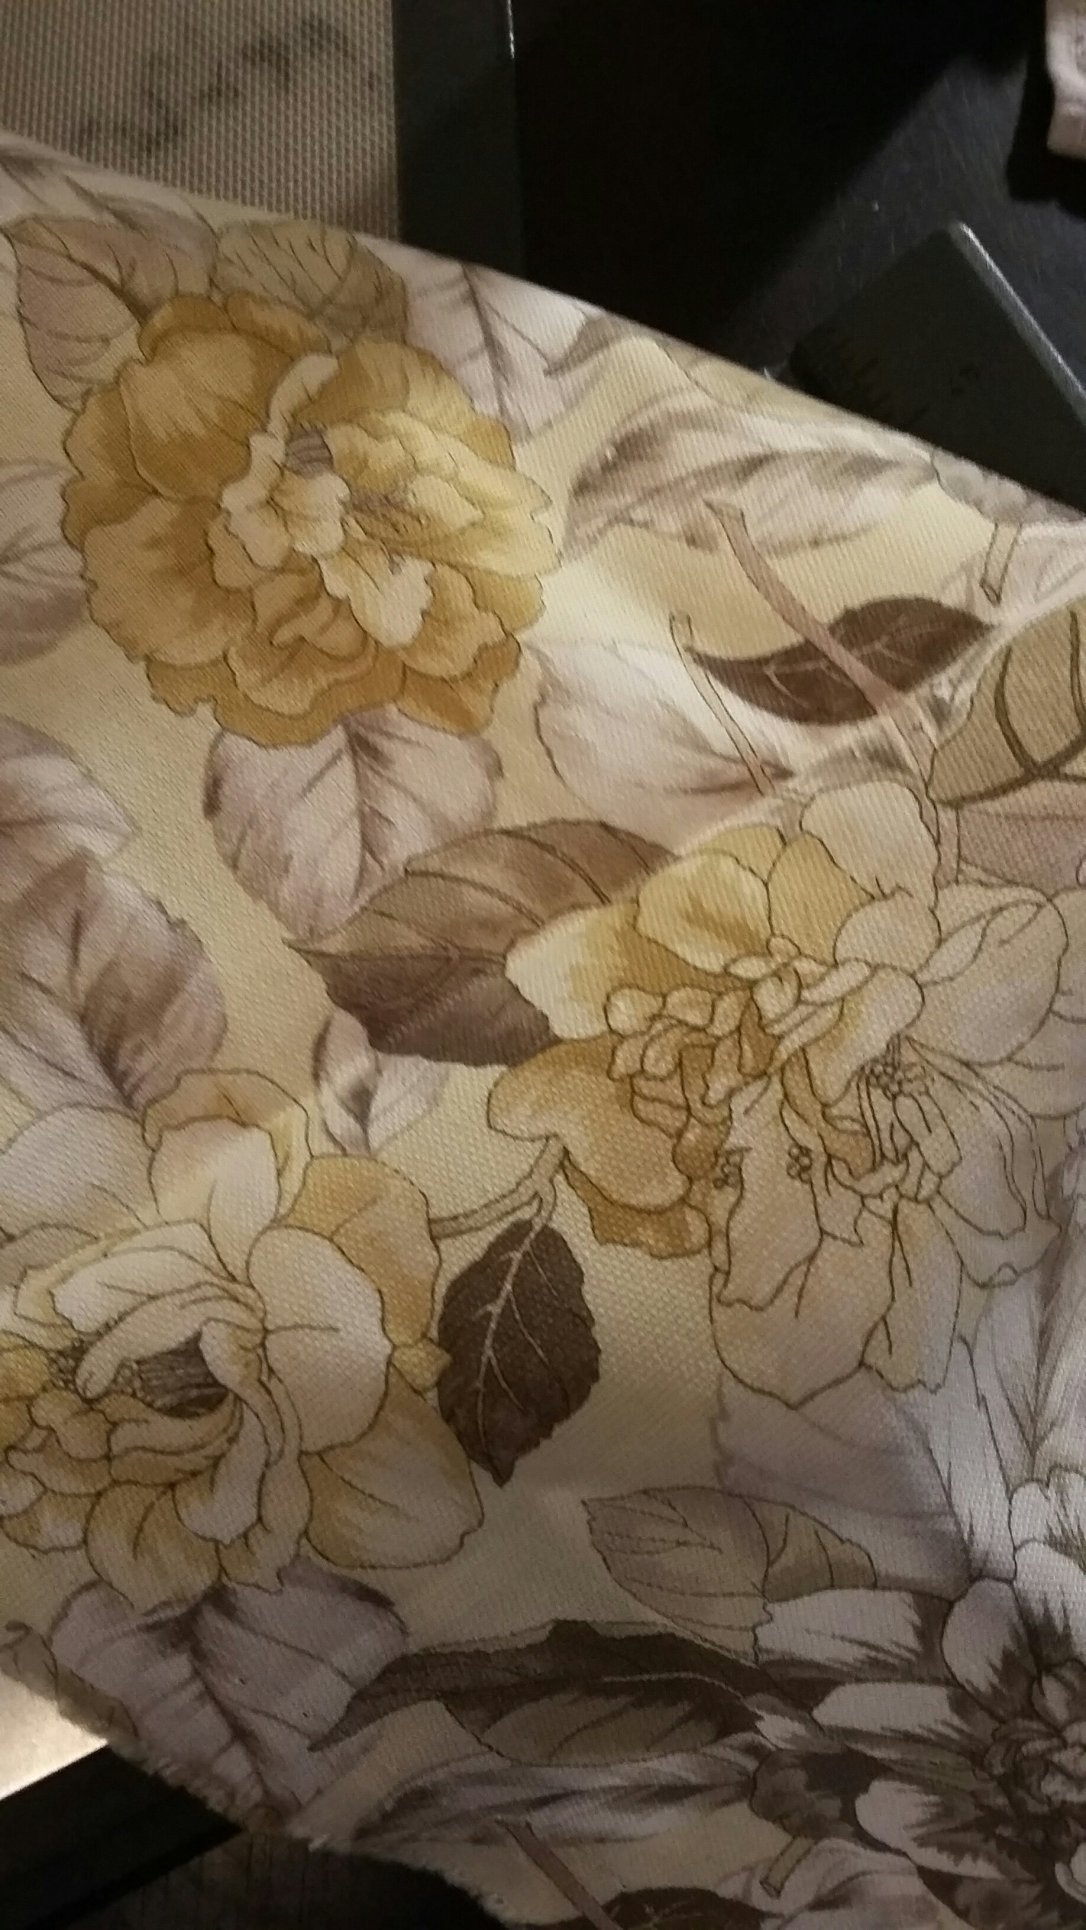
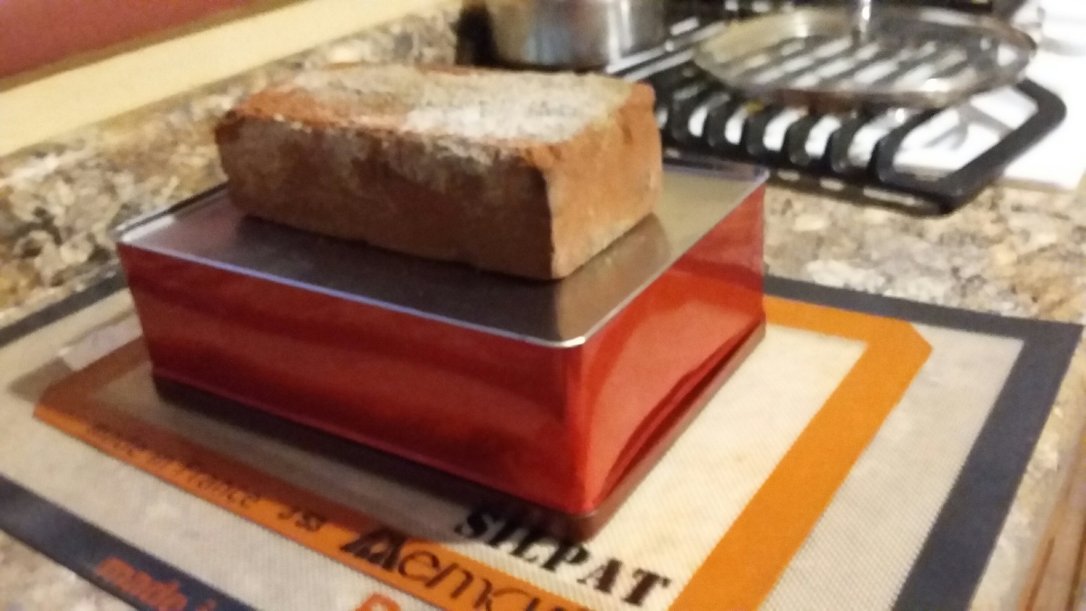
You want to give your cardboard a healthy smear of plain old white glue and then place your chosen fabric on top. Make sure you have some excess on the fabric, especially the cover sides. You need to keep weight on it as it dries to keep it from bubbling up. Make sure your weight is distributed evenly.
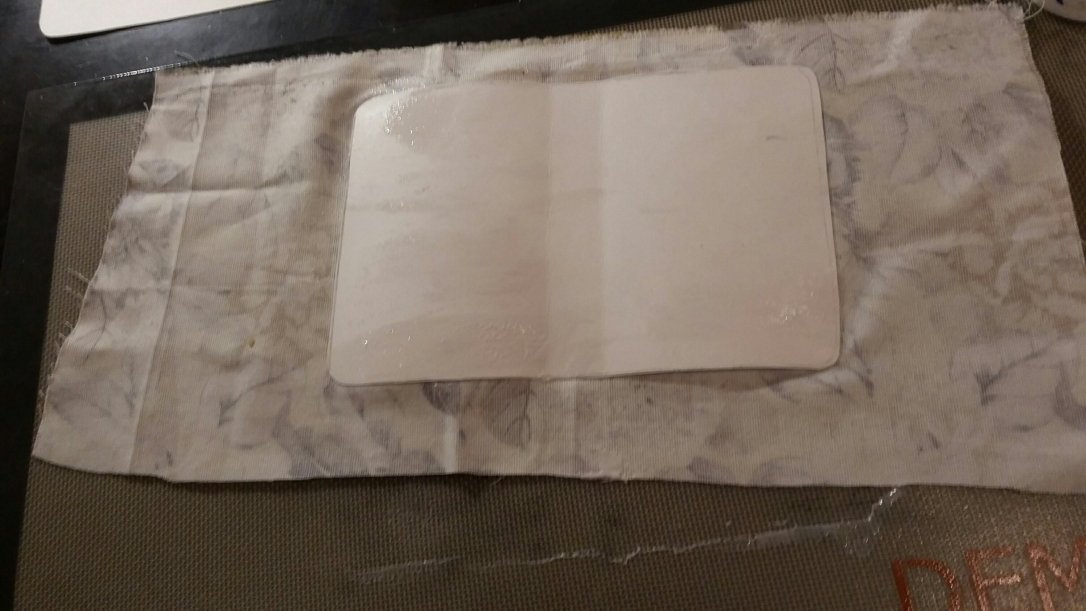
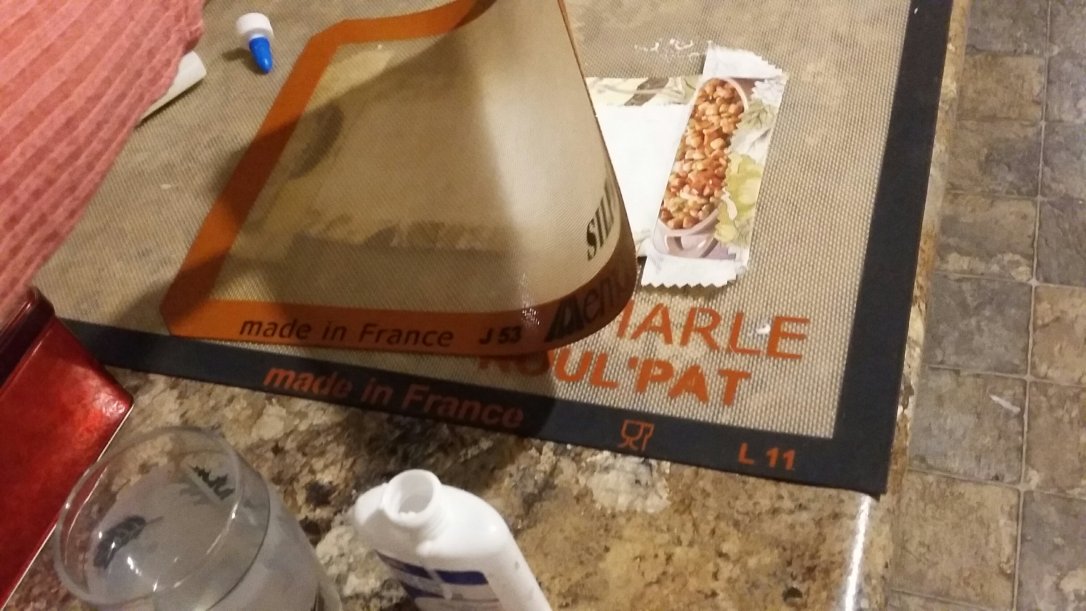
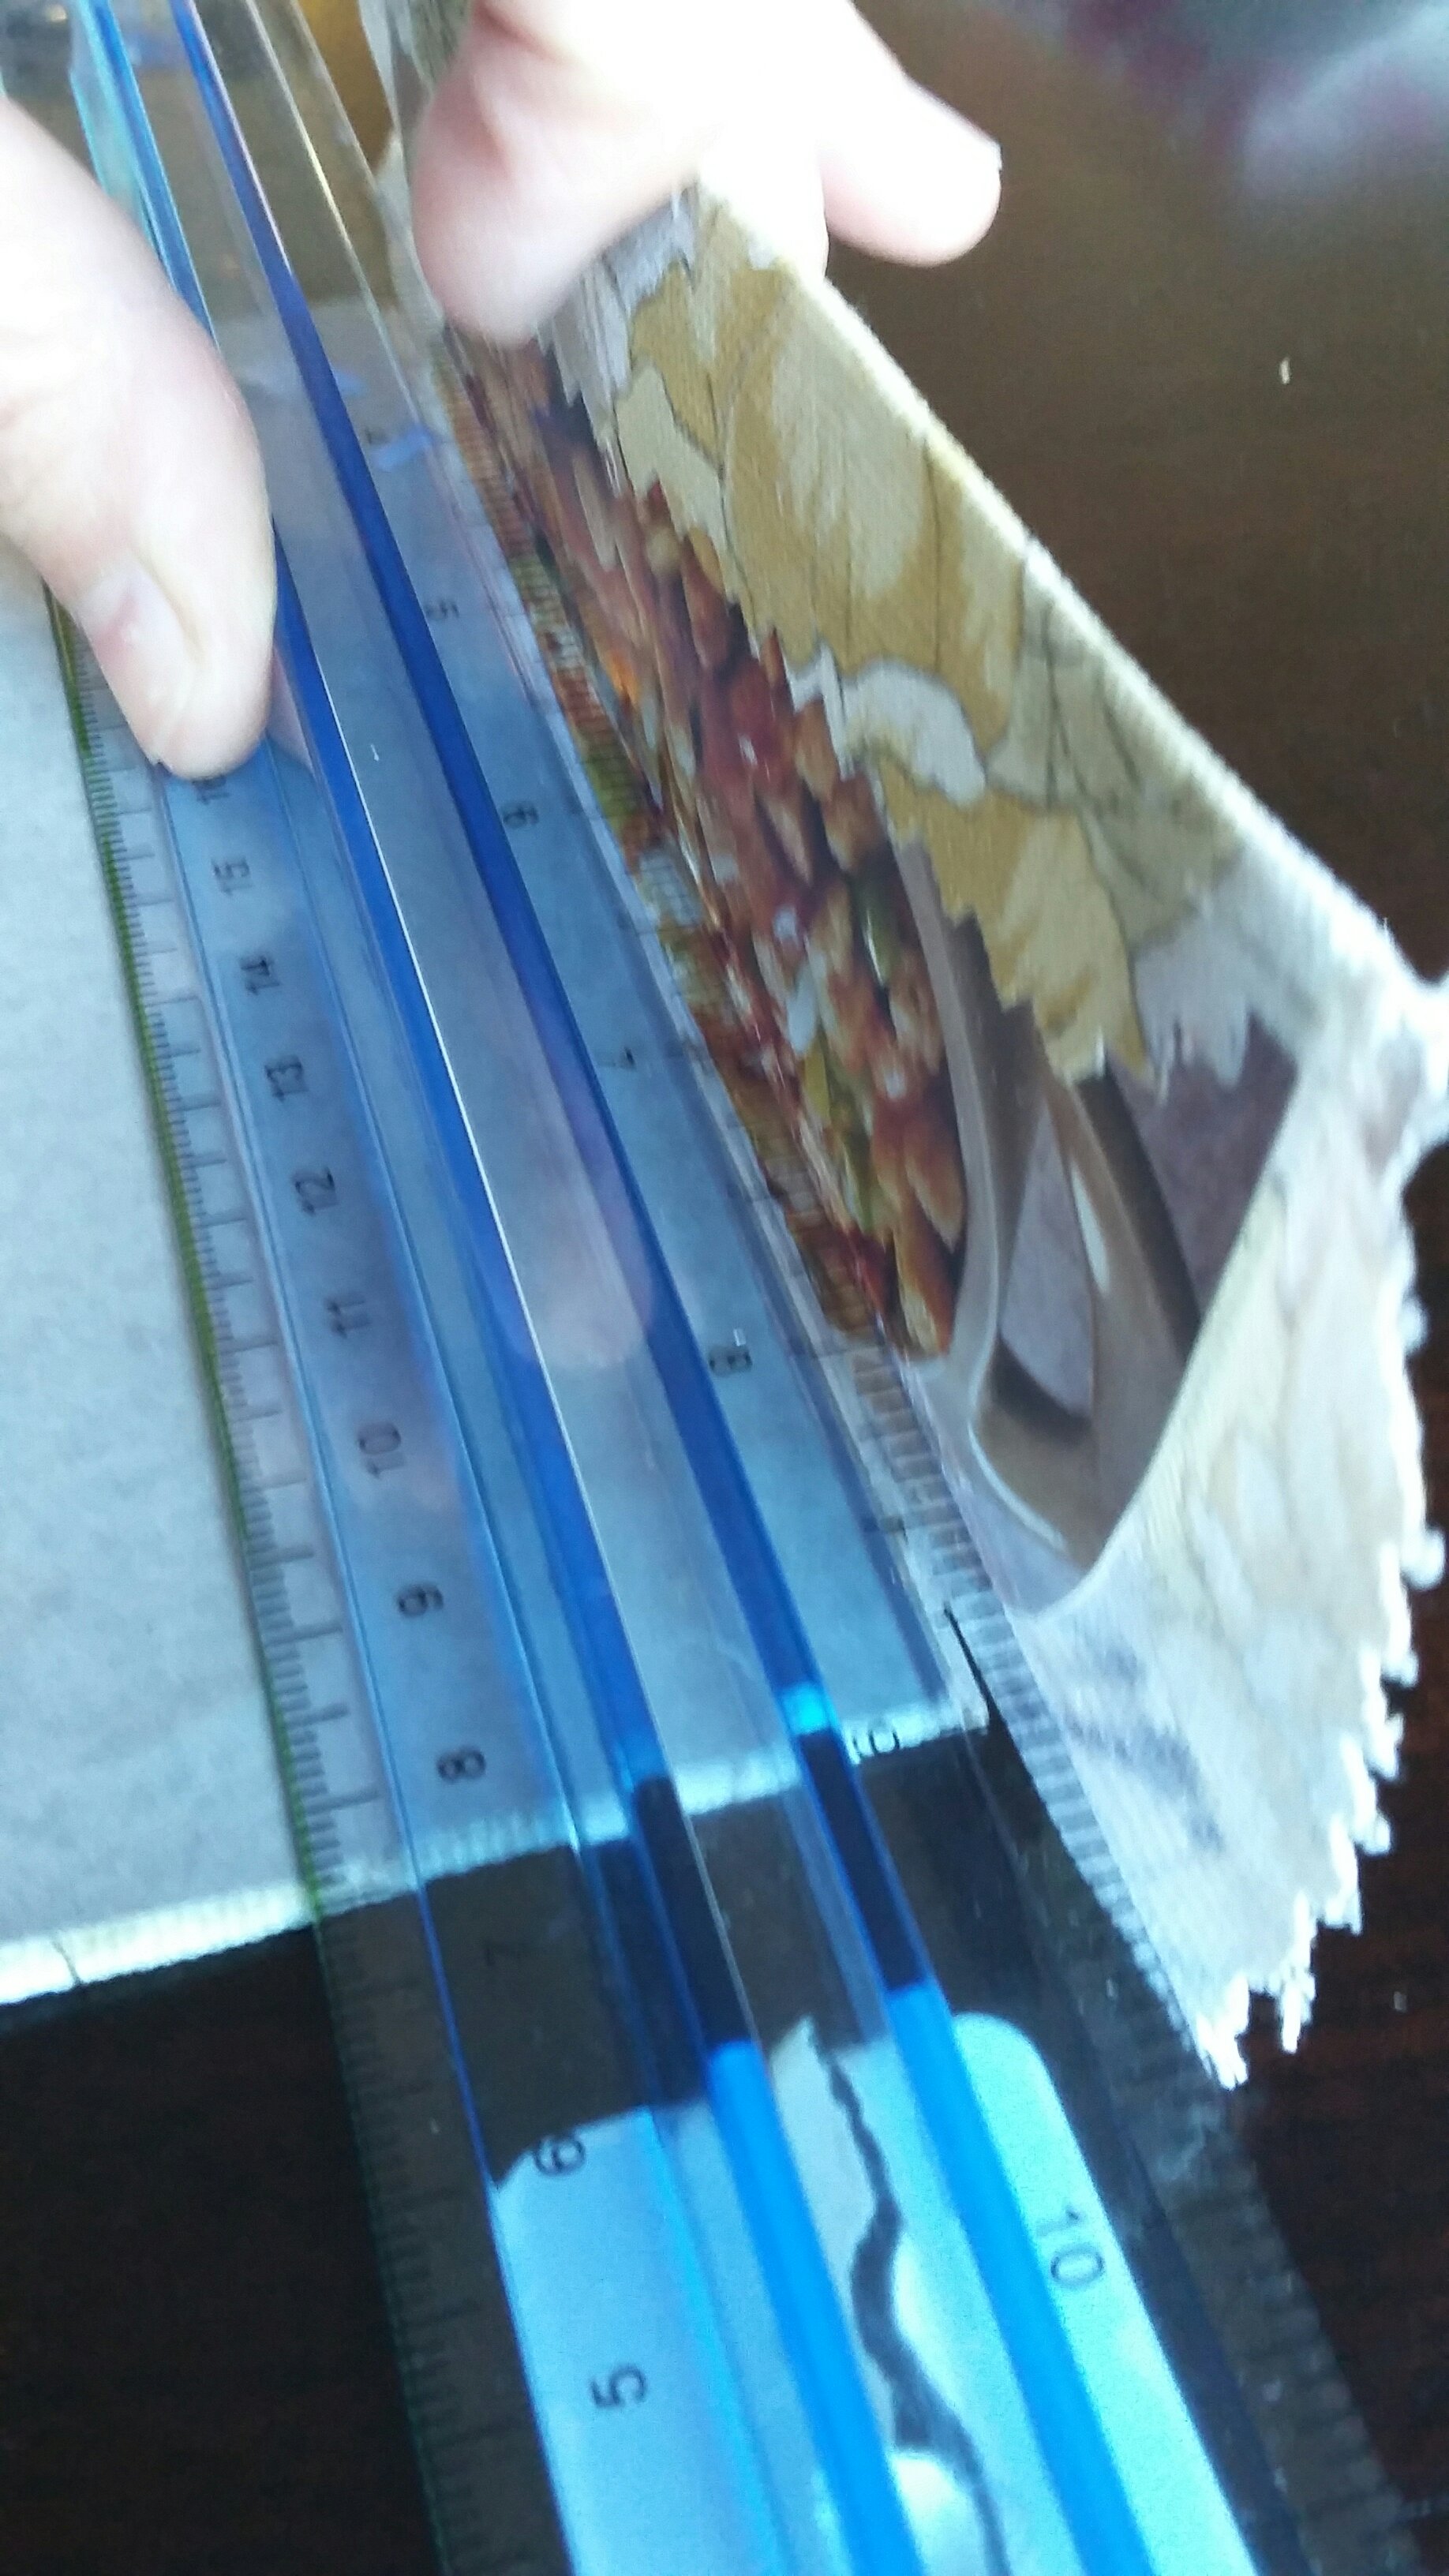
You can check you cover periodically to make sure is smooth and test dryness. During the drying process you will want to “try on” your jacket by placing it over your book and locating the creases where the cover bends. As you form the jacket around the book it should naturally crease in the right spot. You can use a ruler to neaten the crease and add more pressure. This should be done before it’s fully dry as the cardboard is softer and shapes easier. After you crease it leave it to dry fully (again, weighted)
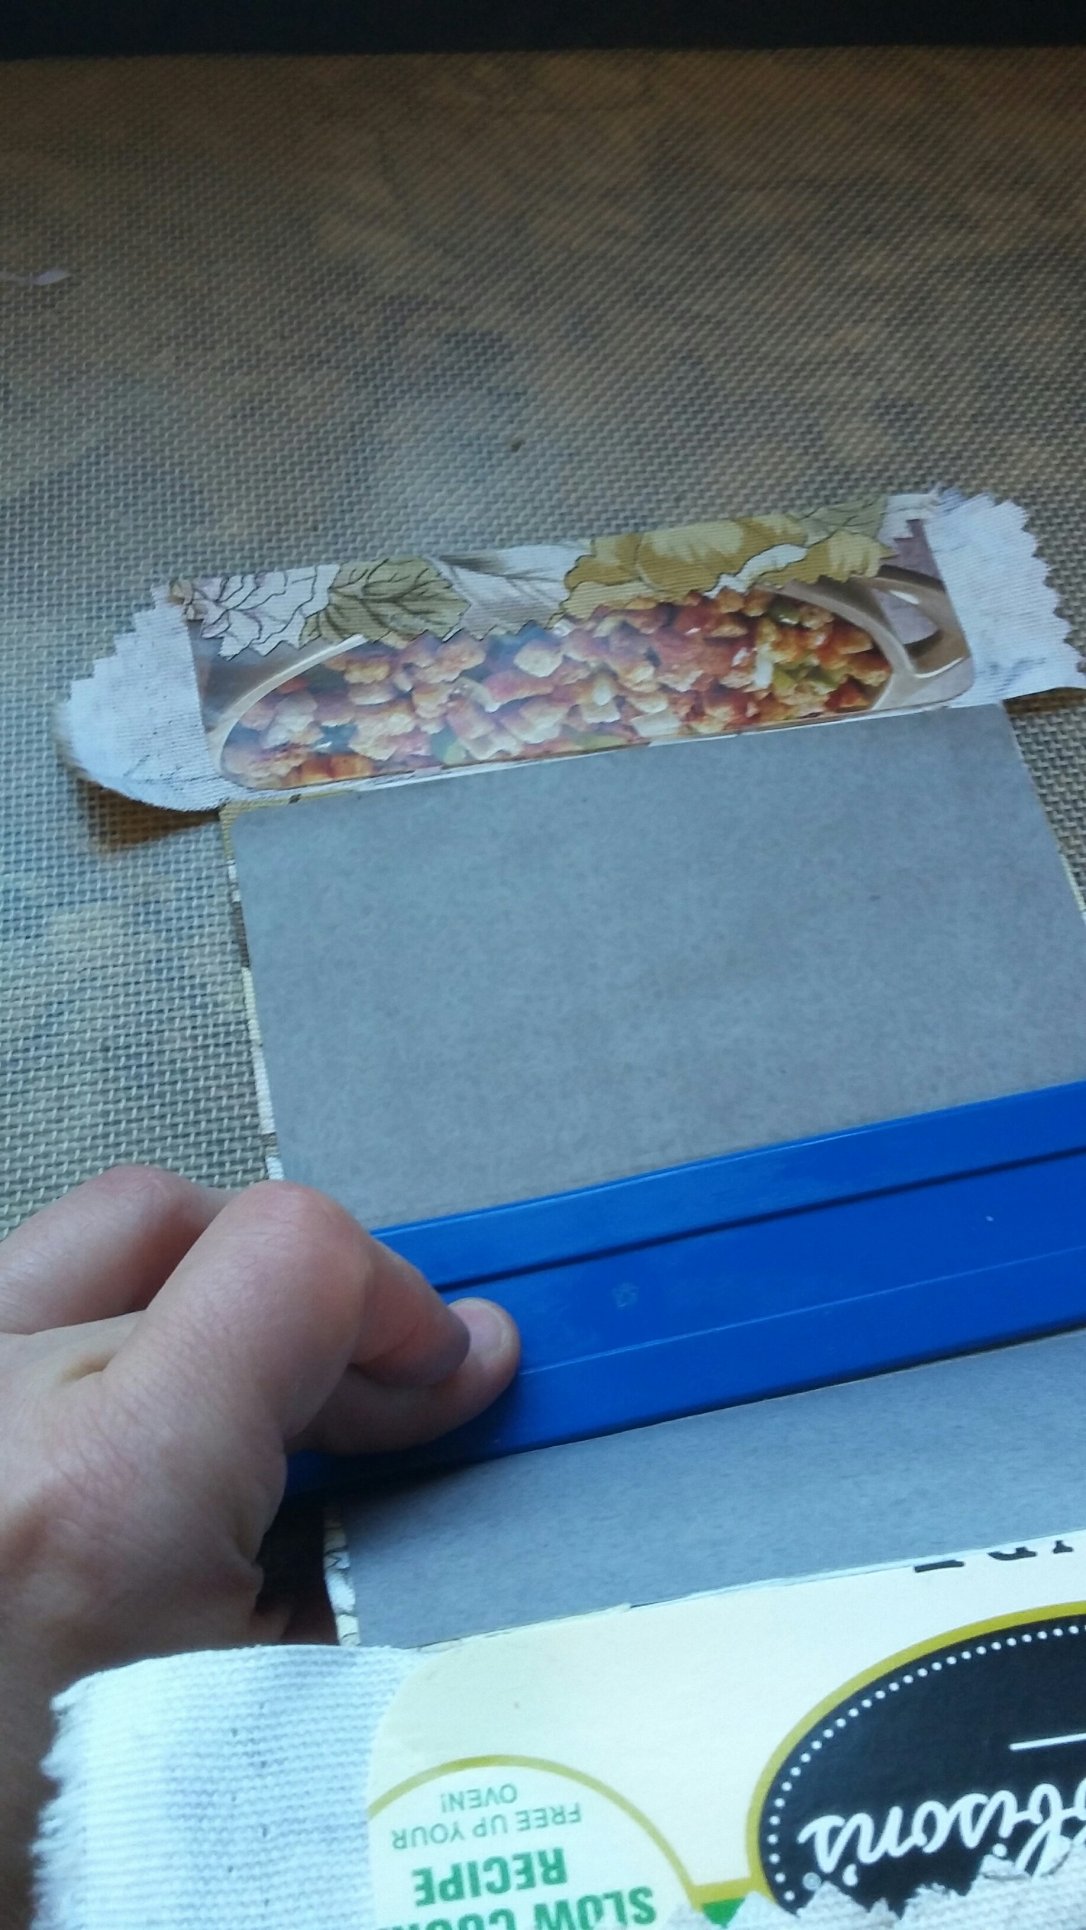
Next you will cut two pieces of cardboard half the size of each cover and glue them onto the fabric. These will be the flaps that hold your book’s original cover in place. I *should* have spaced these pieces out 1/4″ as it needs a little gap to go around the edge of the book’s cover. Yes, that 1/4″ inch matters. I’ll show you how I “fixed” it but you can leave a 1/4″ gap and not have to fix anything! 🙂
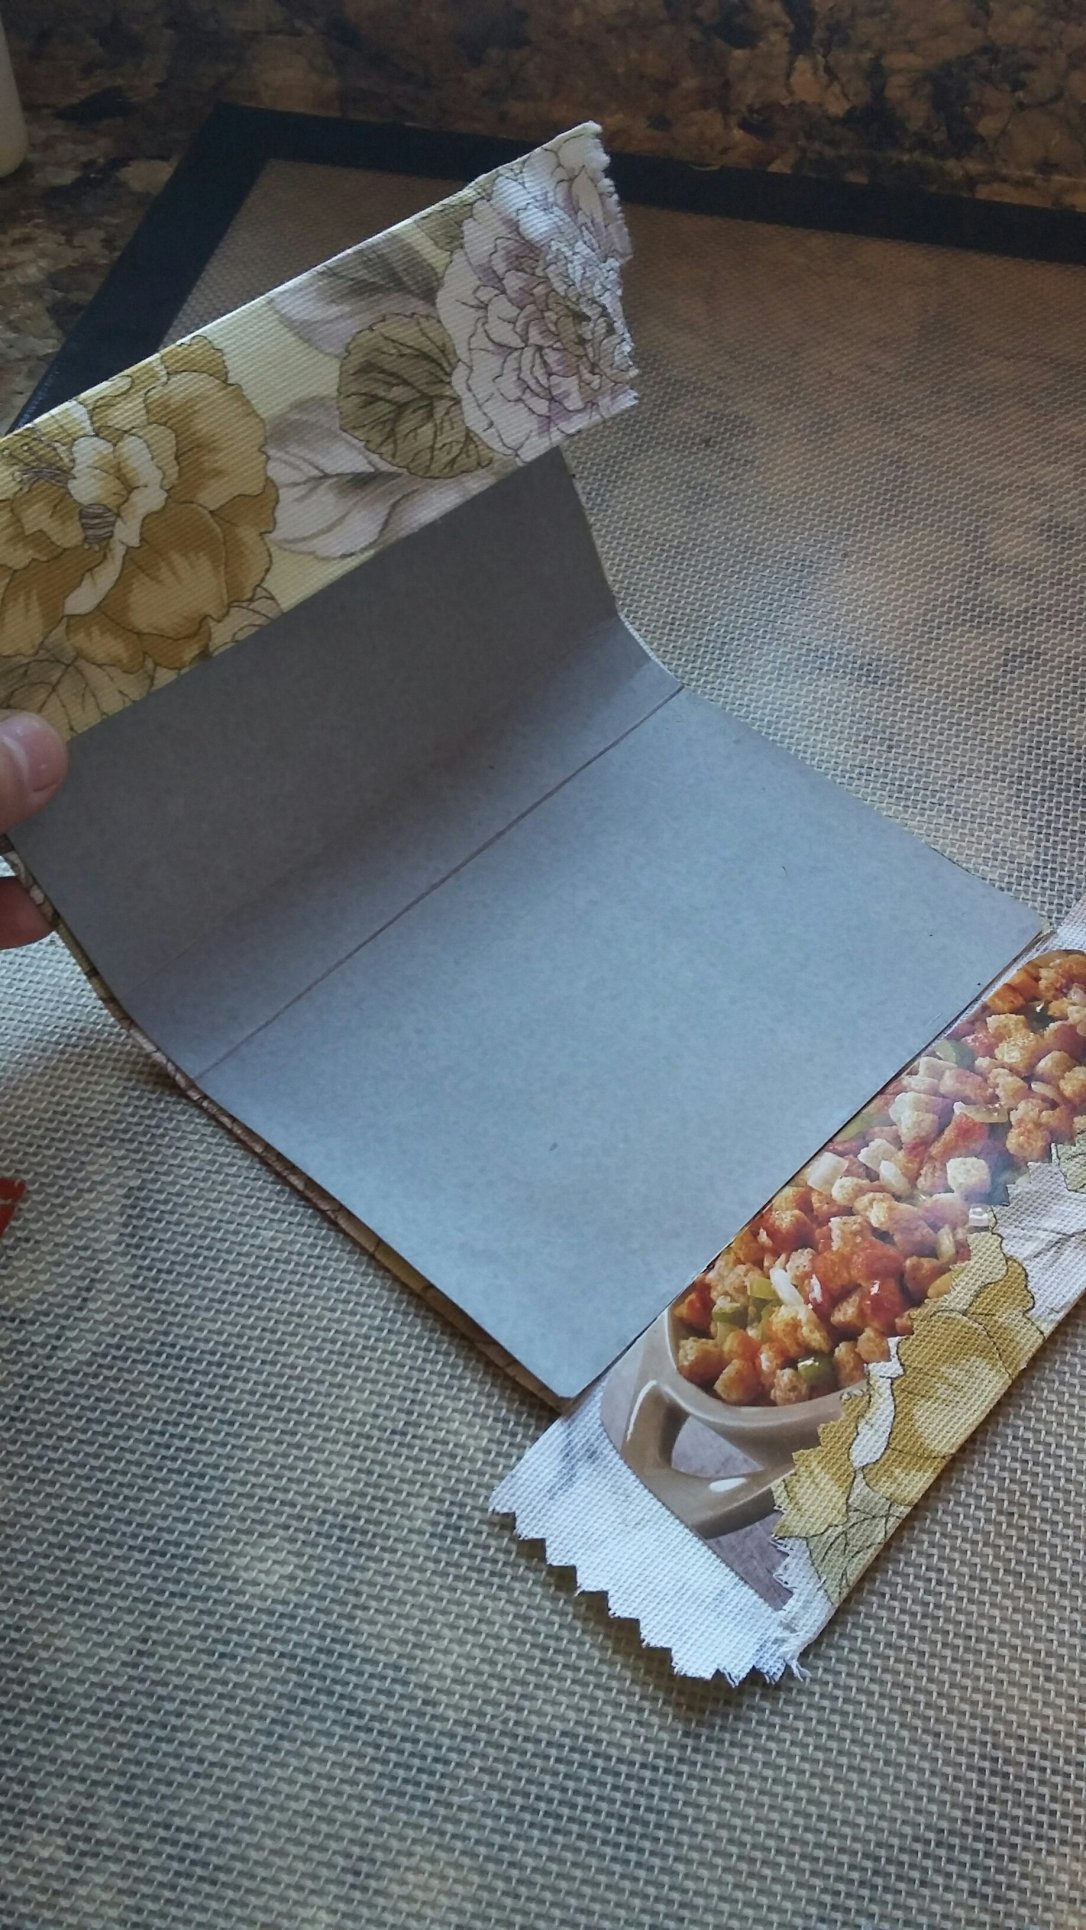
Leave to dry. When dried you can trace your book jacket (not flaps) onto cardstock or an old folder and cut it out to make a nice clean inside to your book jacket. You can just glue it in place and again, weight it to dry.
Almost there! Ok, I’ll show you how I fixed my oopsie and then we’ll finish this book!;) Get the pun? Long post? Book? Hehe…ok, back on task!
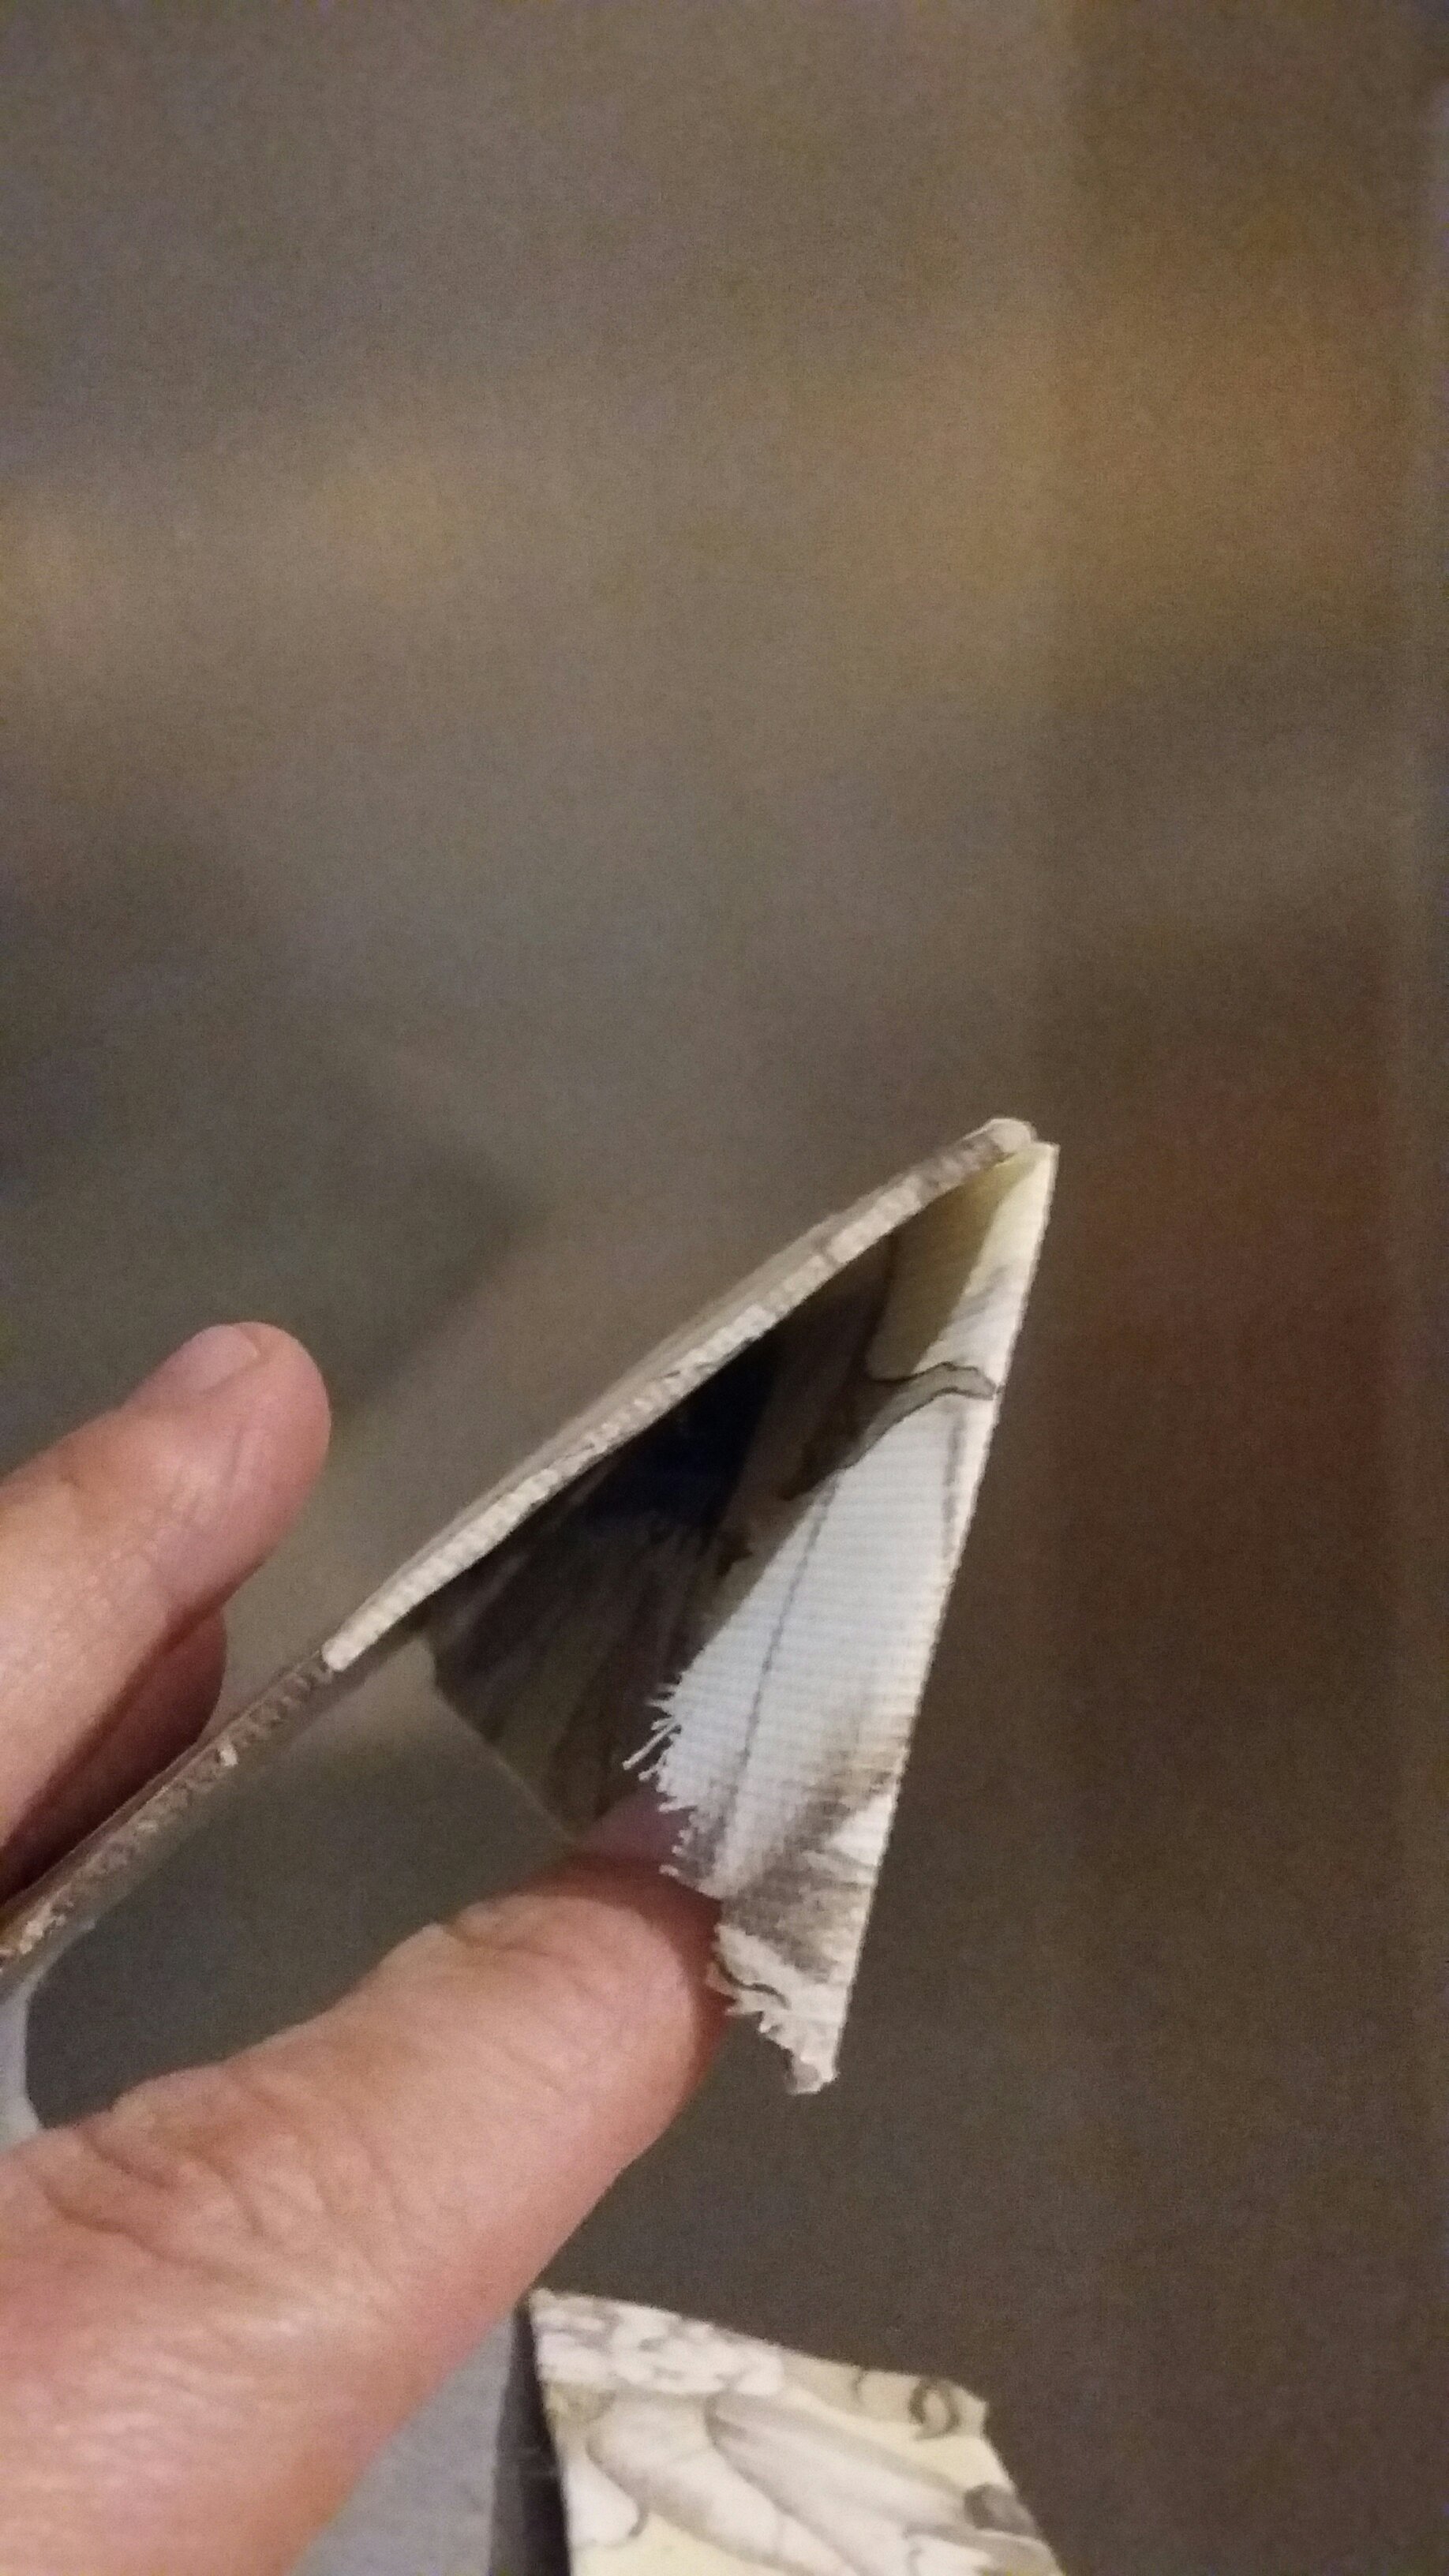
 I had to force my 1/4″ curve in there and that made my cover off by just the *{tiniest}* amount. Still, if I had spaced the flaps out 1/4″ I would have given the jacket enough room to bend around my book.
Ok, time to wrap it up. Bring in the hot glue!
Fold your excess flap fabric in. And hold it…hold it…!
Add a bit of hot glue. *Pro tip* use a butter knife to get in that tiny space and make it smooth!


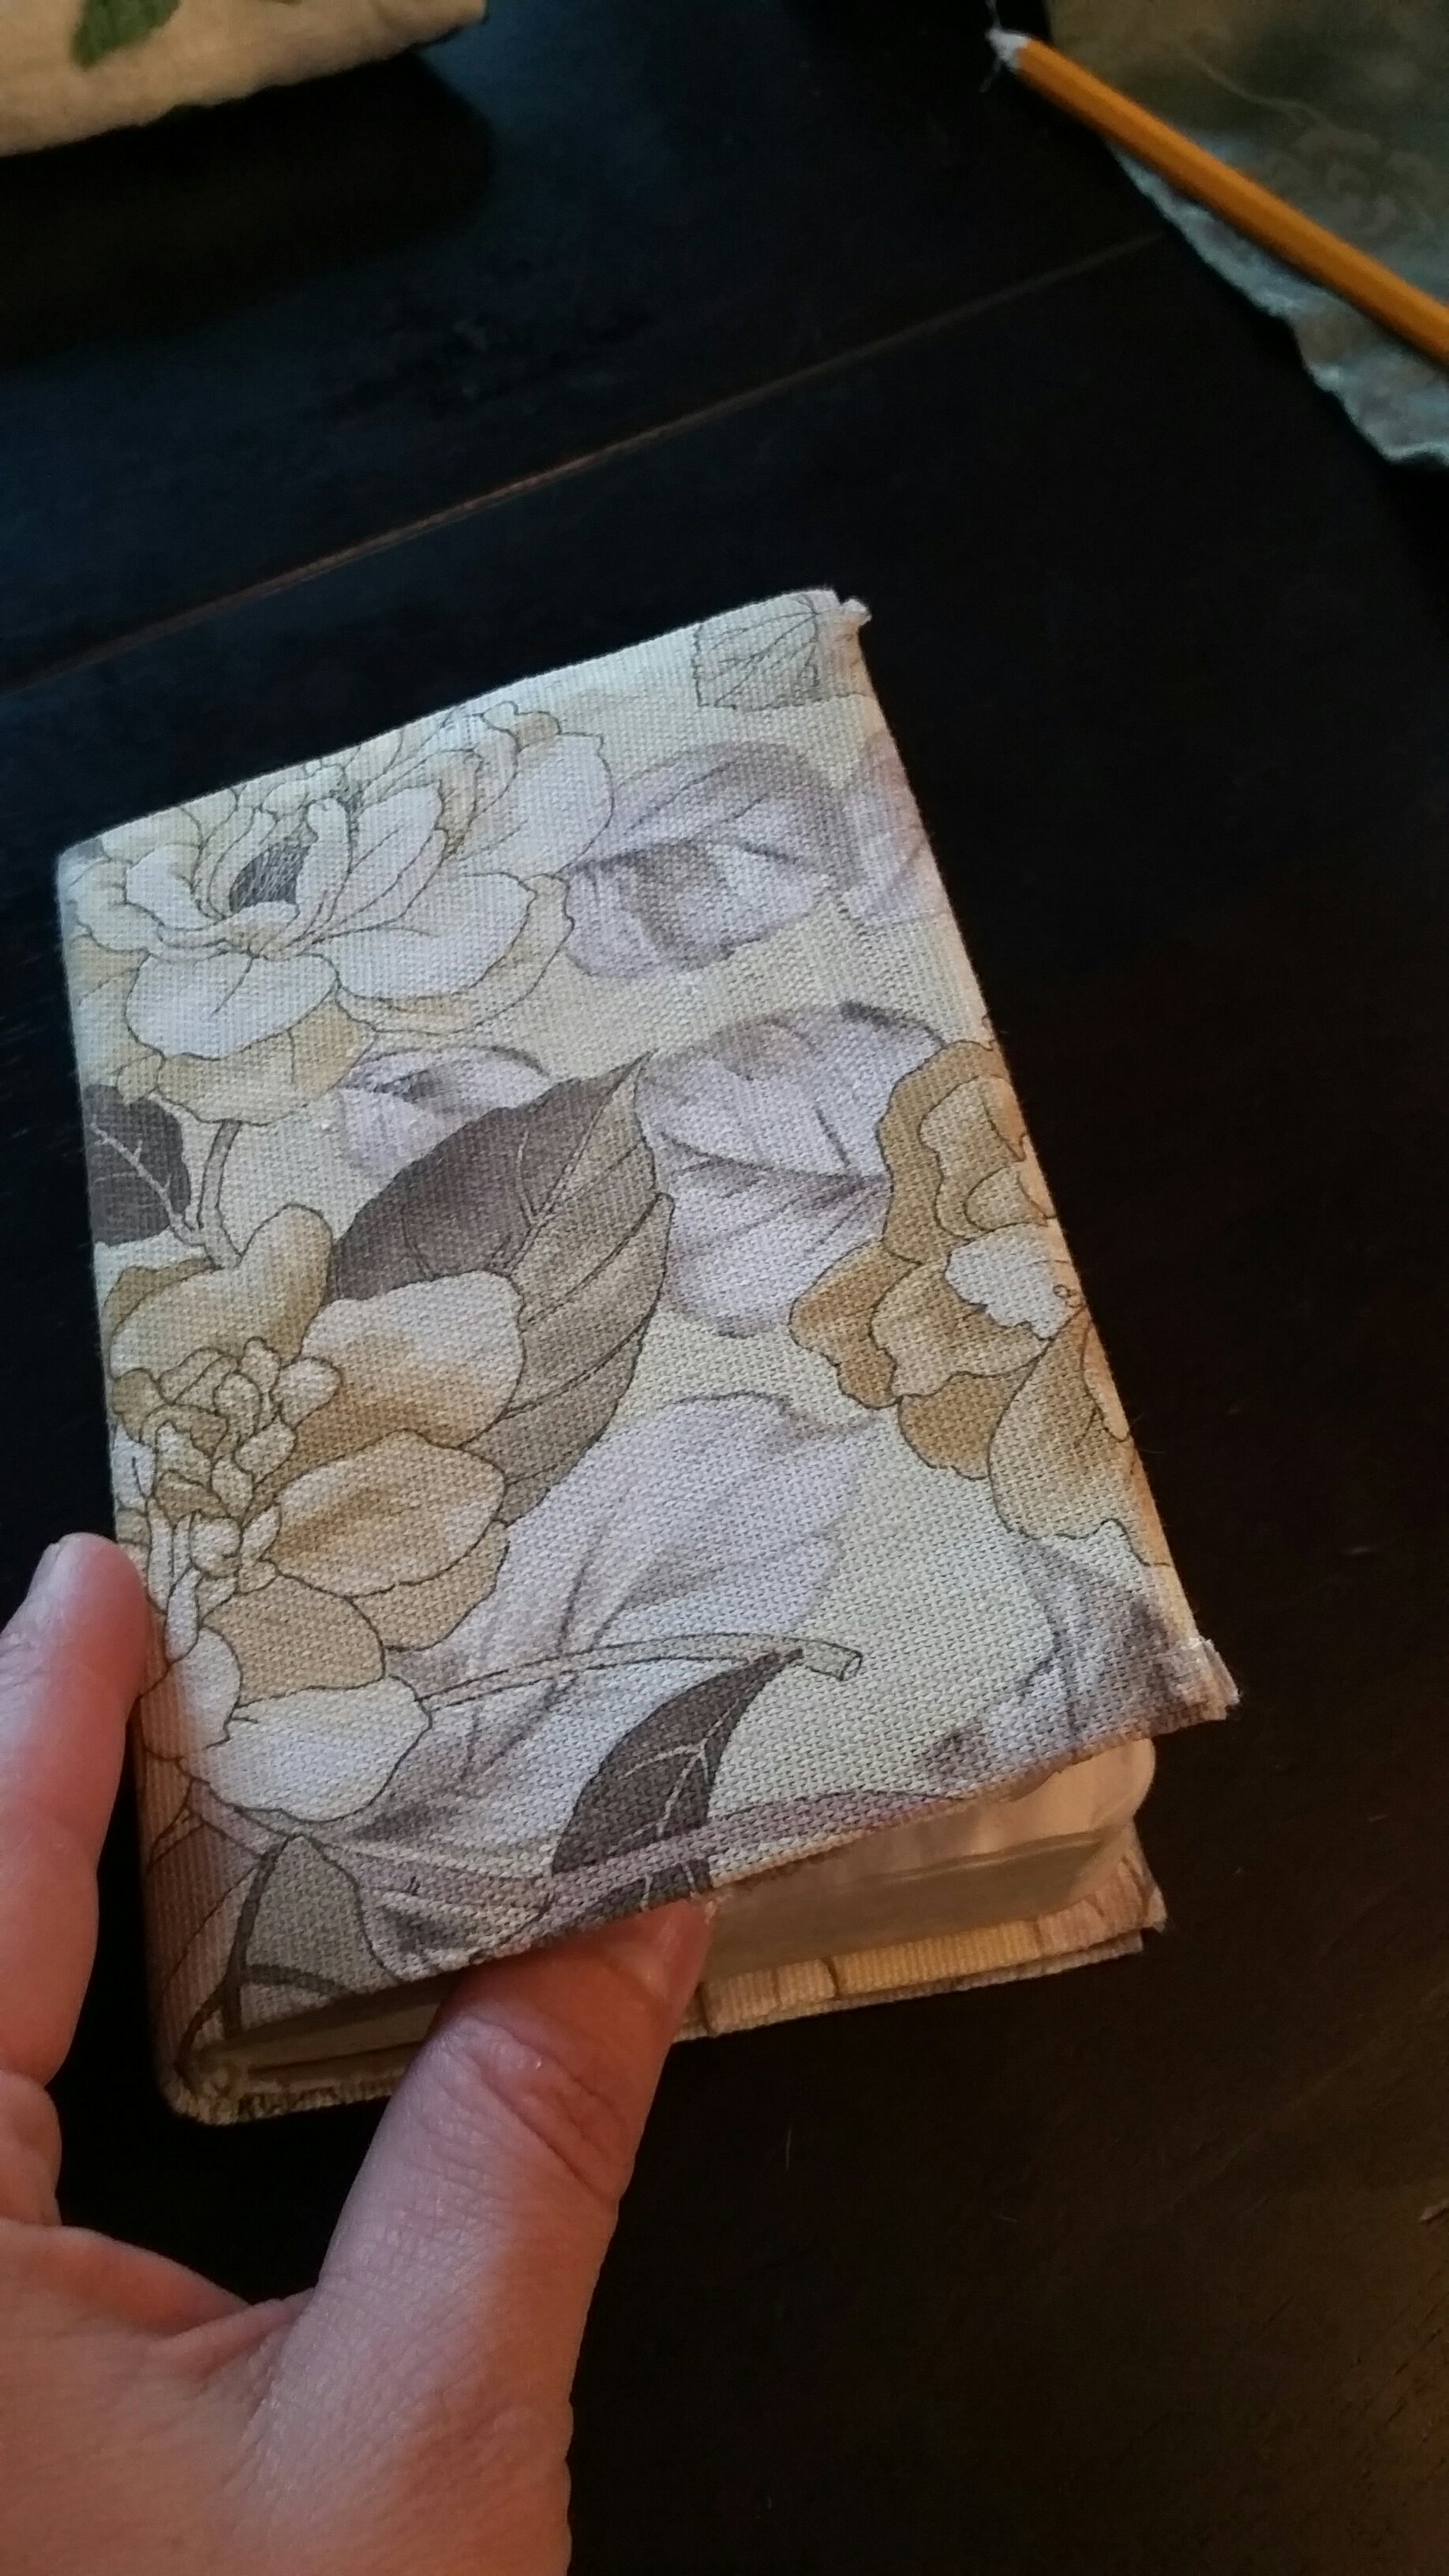
So there it is. Your kinda-long-but-totally-doable book jacket DIY 🙂
Happiest of New Years to you!
